

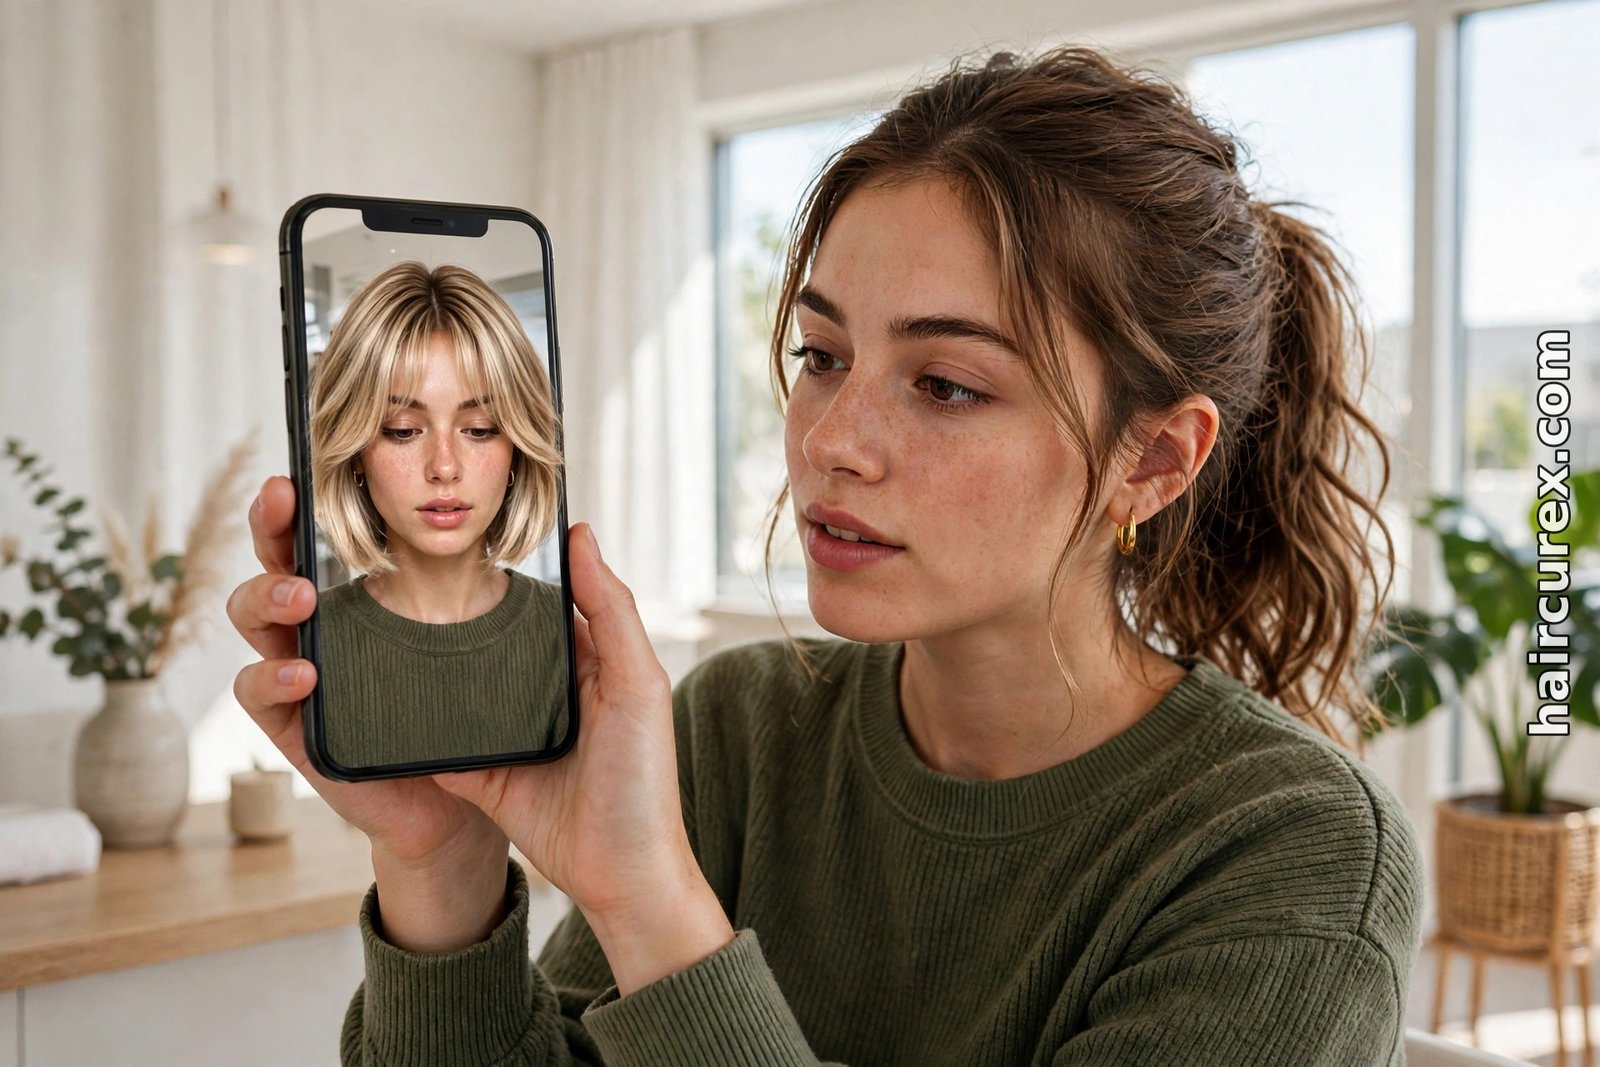
A hair filter is a camera effect in TikTok, Instagram or Snapchat that shows you wearing a different hairstyle — a new cut, colour or length — on your own face, live on screen, before you book a salon appointment. Open the app’s camera, search the effects for a hairstyle or hair colour look, and the filter tracks your face and draws the new style over your own hair in real time.
It is free, it takes under a minute, and it is a genuinely useful shortlist tool — but it is a preview, not a promise: lighting, camera angles and your real hair texture all change how the same style will look in the salon chair, so use it to narrow down ideas and then talk them through with a stylist.
What Is a Hair Filter?
A hair filter is an augmented-reality (AR) effect that runs on your phone’s front camera. It finds your face, maps where your hairline, forehead, ears and shoulders are, and then draws a hairstyle over your own hair while you move. Turn your head and the style follows; switch to a colour filter and your hair changes shade while your face, clothes and background stay the same. Most filters are made for fun and for video, so they are instant and free — no photo upload, no waiting for a render, no account beyond the social app itself.
That speed is also the difference between a filter and an AI hairstyle changer. A changer takes a still photo of you and rebuilds the hair in that picture, often with more realistic blending, texture and light. A filter works live and is usually simpler: it pastes a stylised version of a cut or colour onto your moving image.
Our guide to the best free AI hairstyle changer apps covers the changer route in detail, and our general AI hairstyle changer guide explains how photo-based tools differ from live filters. In practice, the two work well together: use filters to play quickly and find a direction you like, then run your favourite idea through a changer on a good still photo for a more careful look before you commit.
Filters also differ from the edited photos and videos you see online. A filter is applied live, in your own lighting, on your own face — which is exactly why it is more honest than a celebrity photo. But it is still a digital overlay. It cannot feel your hair’s thickness, see a cowlick, or know how your curls behave on a humid day. Treat every filter result as a sketch of an idea, not a photograph of a finished haircut.
How to Find a Hair Filter on TikTok
On TikTok, hairstyle looks live in Effects, not in the colour Filters. Open the app, tap the + button to open the camera, then tap Effects beside the record button. A panel opens with tabs such as Trending, New and Beauty. Tap the magnifying glass at the top of that panel and search for words like “hairstyle”, “hair color”, “bob haircut” or “bangs” — searching the exact style you have in mind works better than searching the generic word “hair”.
The fastest route is often someone else’s video. If you see a hairstyle effect you like, tap the effect name shown above the creator’s username, then tap Use this effect, and your camera opens with it switched on. If there is no effect name on the video, the look was probably a plain colour filter, an edit made in another app, or an effect that has since been removed. Save the effects you like by tapping the bookmark in the Effects panel, so your favourites sit in your tray instead of needing another search next time.
Try several versions of the same idea rather than settling on the first one. One creator’s bob filter may be sleek and chin-length, while another’s is textured and jaw-length, and those are effectively two different haircuts. Record a short clip of each, watch them back on a bigger screen if you can, and keep only the ones that still look right on a second viewing.

How to Find a Hair Filter on Instagram
Instagram’s effects live in the Stories and Reels cameras. Open the Stories camera by swiping right from your feed, or tap the + icon and choose Story, then look at the row of round effect icons beside the capture button. Swipe through them, and keep swiping to the very end of the row, where the magnifying glass — Browse effects — opens the full gallery. Search it for “hair”, “hairstyle” or a colour, preview anything promising, and save the ones you like so they stay in your camera tray.
One honest warning: Instagram’s effects library is smaller than it used to be. Meta shut down its Spark platform for third-party effects on 14 January 2025, and effects made by outside creators and brands were removed, while Meta’s own effects stayed. If an old favourite has vanished, or a tutorial from 2024 sends you to an effect that no longer exists, that is why — search the gallery for a Meta-made effect with a similar look instead of hunting for the exact old name.
As on TikTok, the quickest discovery route is another person’s Story. Tap the effect name near the top of their Story, under their username, and choose Try it or save it. If no name appears, the person either used no effect, used one that has since been removed, or edited the video in another app first.
How to Find a Hair Filter on Snapchat
Snapchat calls its effects Lenses, and hair Lenses are among its strongest, because Snapchat has built hair simulation into its lens tools for years. Open the camera screen, swipe through the carousel of Lenses next to the capture button, and tap one to try it. For the full library, tap the magnifying glass while the carousel is open: that opens Lens Explorer, where you can search for “hair color”, “hairstyle” or “new hair” and browse community-made Lenses alongside Snapchat’s own.
Tap a Lens tile to add it to your carousel for 24 hours, or tap the heart to save it to your Favourites so it stays easy to find. If you see a Lens in a friend’s Snap, swipe up on the Snap to open its Context Card and try it yourself where one is available. You can also scan a Snapcode — the ghost-shaped code with a circle in the centre — to unlock a special Lens for a limited time.
Snapchat’s hair Lenses tend to handle movement well, so turn your head slowly from side to side and check the style from a three-quarter angle, not just straight on. A cut that looks good head-on but floats oddly off your head in profile is telling you something useful: either the Lens is weak, or the style needs more length or weight than the preview suggests.

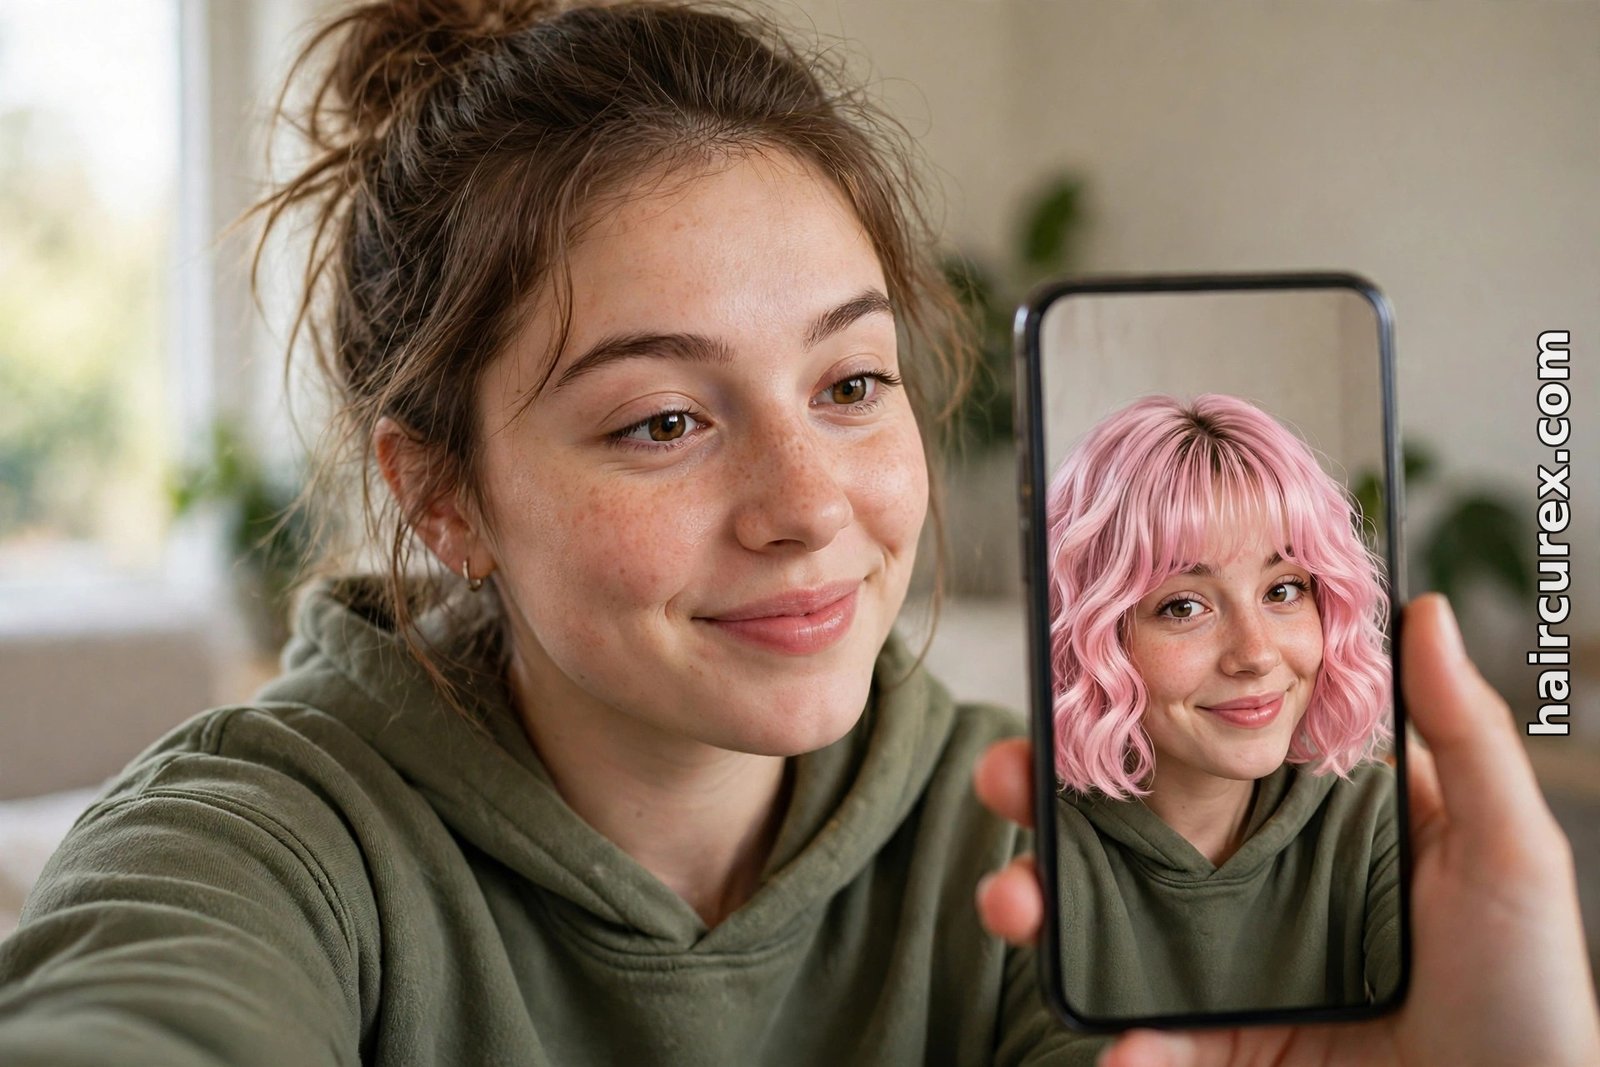
How to Get a Good Preview Photo or Video
A filter is only as honest as the video you feed it. Follow these steps and your previews will be far more useful:
- Face a window in daylight, or stand under a bright, even indoor light. Avoid light directly above you, which throws shadows over your face, and avoid backlight, which turns you into a silhouette.
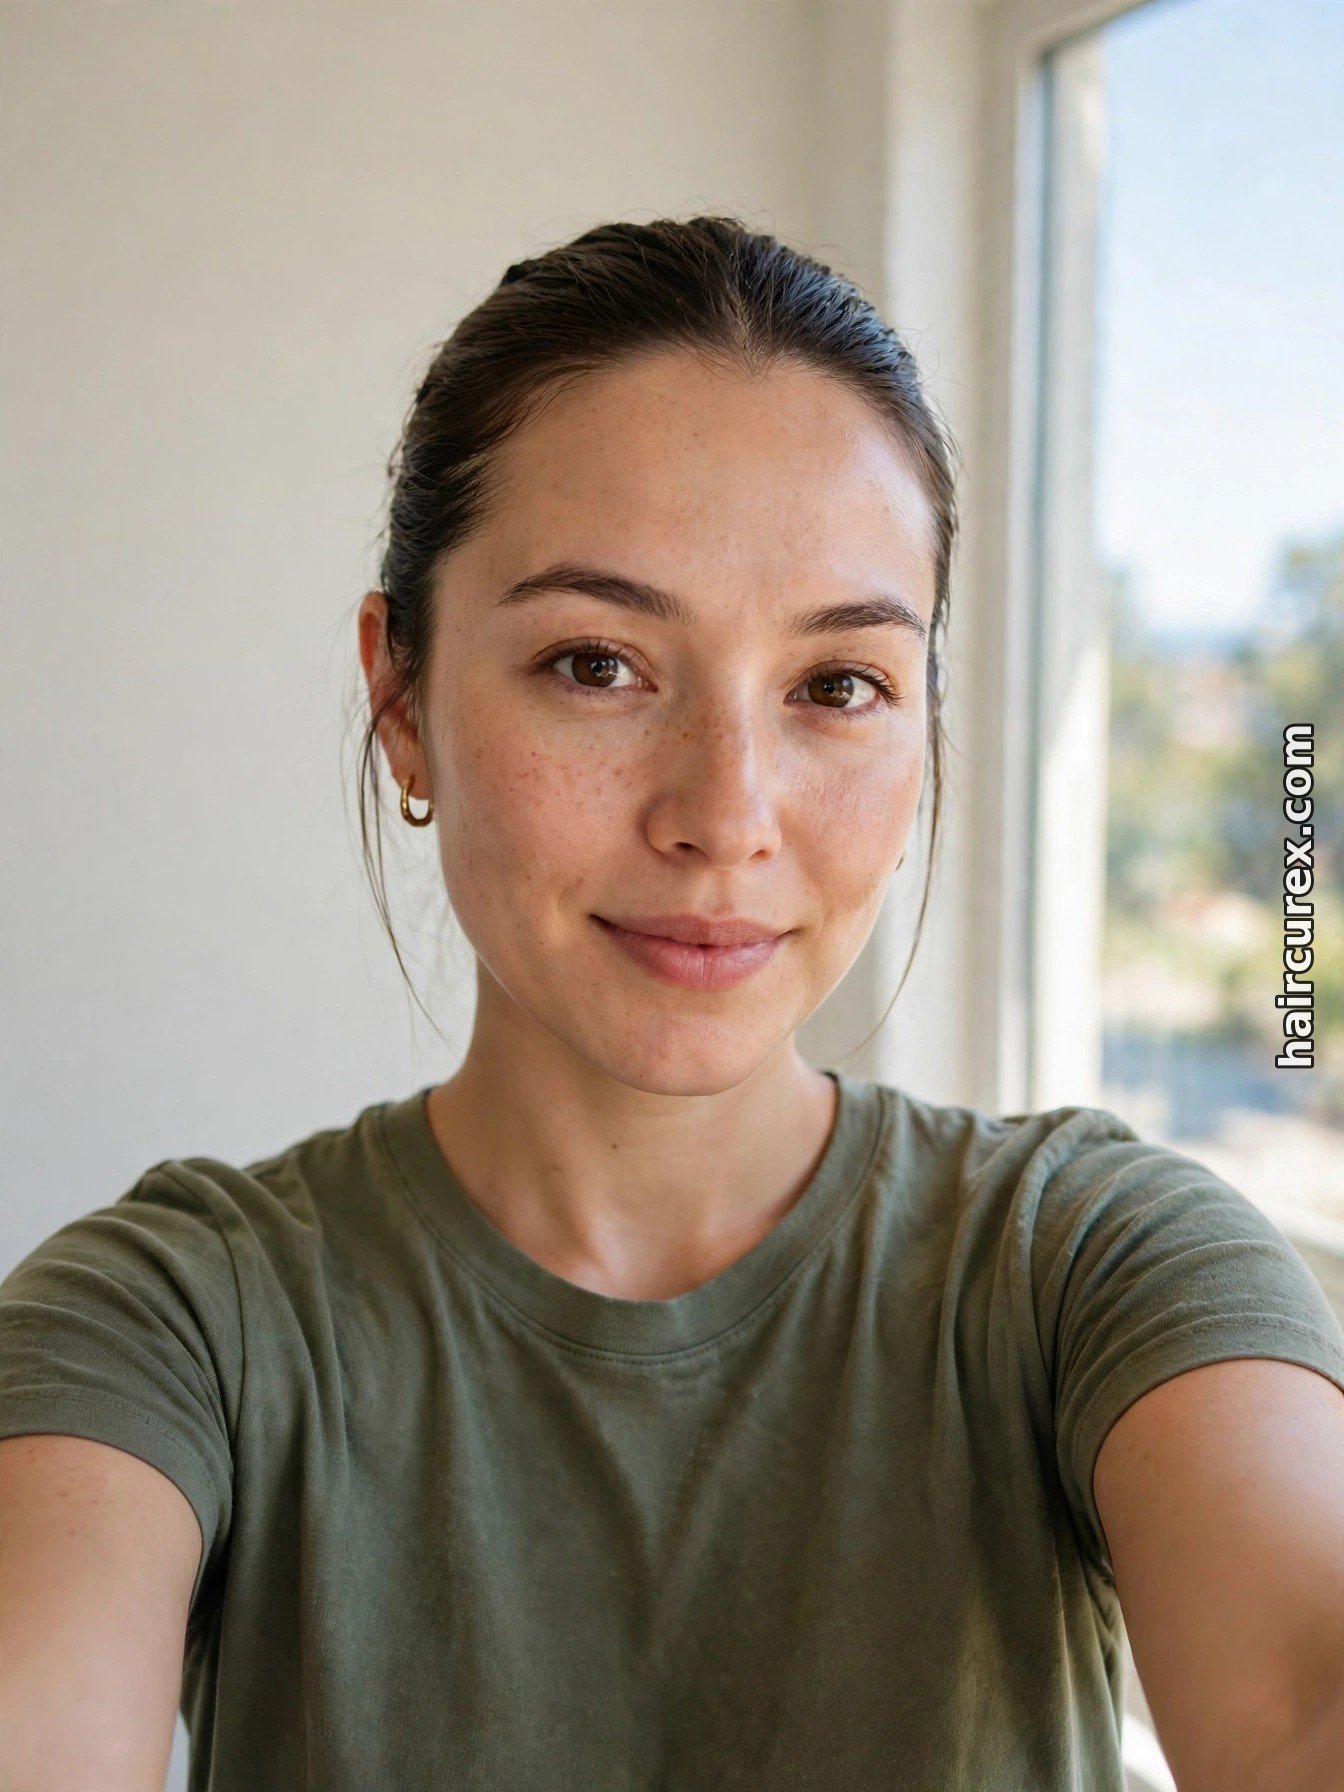
- Hold the phone at eye level, straight on, about an arm’s length away. A low angle or a tilted phone distorts your face shape and makes every style look different from reality.
- Pull your hair back from your forehead and hairline, or tie it flat, so the filter can see your face shape clearly. A fringe hanging over your forehead confuses the tracking and hides the hairline the stylist needs to see.
- Keep the background plain and your face fully in frame — no sunglasses, no hat, no hand over your hair.
- Record a short video, not just a still. Turn your head slowly left and right, then look back at the camera. A style that holds up in motion is a much better candidate than one that only works in a frozen frame.
- Screenshot the best angle of each candidate, and save the clips. You will want them side by side later, and you will want them for your stylist.
Repeat the same setup for every style you test. If one filter was tried in bright daylight and another in a dim room, you are comparing lighting, not haircuts.
Comparing Cuts, Colours and Lengths Across Apps
Do not judge a style from one app alone. The same “bob” can look sleek on TikTok, textured on Instagram and glossy on Snapchat, because each app’s creators draw hair differently. Try your shortlist in at least two apps, on the same day, in the same light, and keep only the styles that look convincing in both. That cross-check catches the cases where one filter has flattered a cut that would not suit your real hair.
Compare one change at a time. Test cuts in your current colour first, and only test colours on the winning cut — otherwise a colour you love can carry a shape you would never have chosen on its own. Our AI hair color changer guide covers colour previews separately, which is useful once you have settled the shape. Test length the same way: if you are debating a big chop, try the shorter length, a medium length and your current length back to back, so you can see the jump clearly rather than guessing from memory.
Keep a simple shortlist: three styles at most. Rank them by how they look in motion, how they suit your face shape, and how much daily styling they would need. A style that needs twenty minutes of heat styling every morning is a different commitment from a wash-and-go cut, even if both look equally good in a ten-second clip. If you are still unsure what suits your face, our hairstyle finder quiz can narrow the field before you spend more time on filters.
| Platform | Where to find it | What you need | Best for | Cost and notes |
|---|---|---|---|---|
| TikTok | Effects panel beside the record button, search inside Effects | The TikTok app | Trending cuts and colour looks, fast discovery from other people’s videos | Free, effects may be removed or region-limited |
| Stories/Reels camera tray, Browse effects at the end of the row | The Instagram app | Saved effects you reuse often and Meta-made looks | Free, third-party Spark effects removed in January 2025 | |
| Snapchat | Lens carousel and Lens Explorer via the magnifying glass | The Snapchat app | Realistic moving hair previews and community hair Lenses | Free, carousel Lenses last 24 hours unless favourited |
| AI hairstyle changer (photo-based) | Browser or app upload of a still photo | A browser or the tool’s app | A careful, realistic check of your shortlist before a salon visit | Free tiers limited to a few previews |
Privacy: What Happens to Your Face Data?
A filter runs on your phone’s camera, but the apps behind it still collect data, so check before you spend an afternoon trying looks. Read the app’s privacy settings, not just its marketing: look for what face data is collected, whether it leaves your device, how long it is stored, and whether it is used to train models. Prefer the in-app camera filters of apps you already use over a new app that demands your camera roll, contacts or a full account just to show you a hairstyle.
Be careful with the free filter apps that appear in app-store search results. A genuinely free preview should not need your payment details, and an app that asks for a card for a “free” trial deserves suspicion. Never upload someone else’s photo to a filter or changer without their permission, and avoid uploading photos of children. If a tool lets you delete your uploads or your history, use that option once you have saved the previews you need, and remove saved effects you no longer use so your tray stays short and your data footprint stays small.
Taking Your Preview to Your Stylist
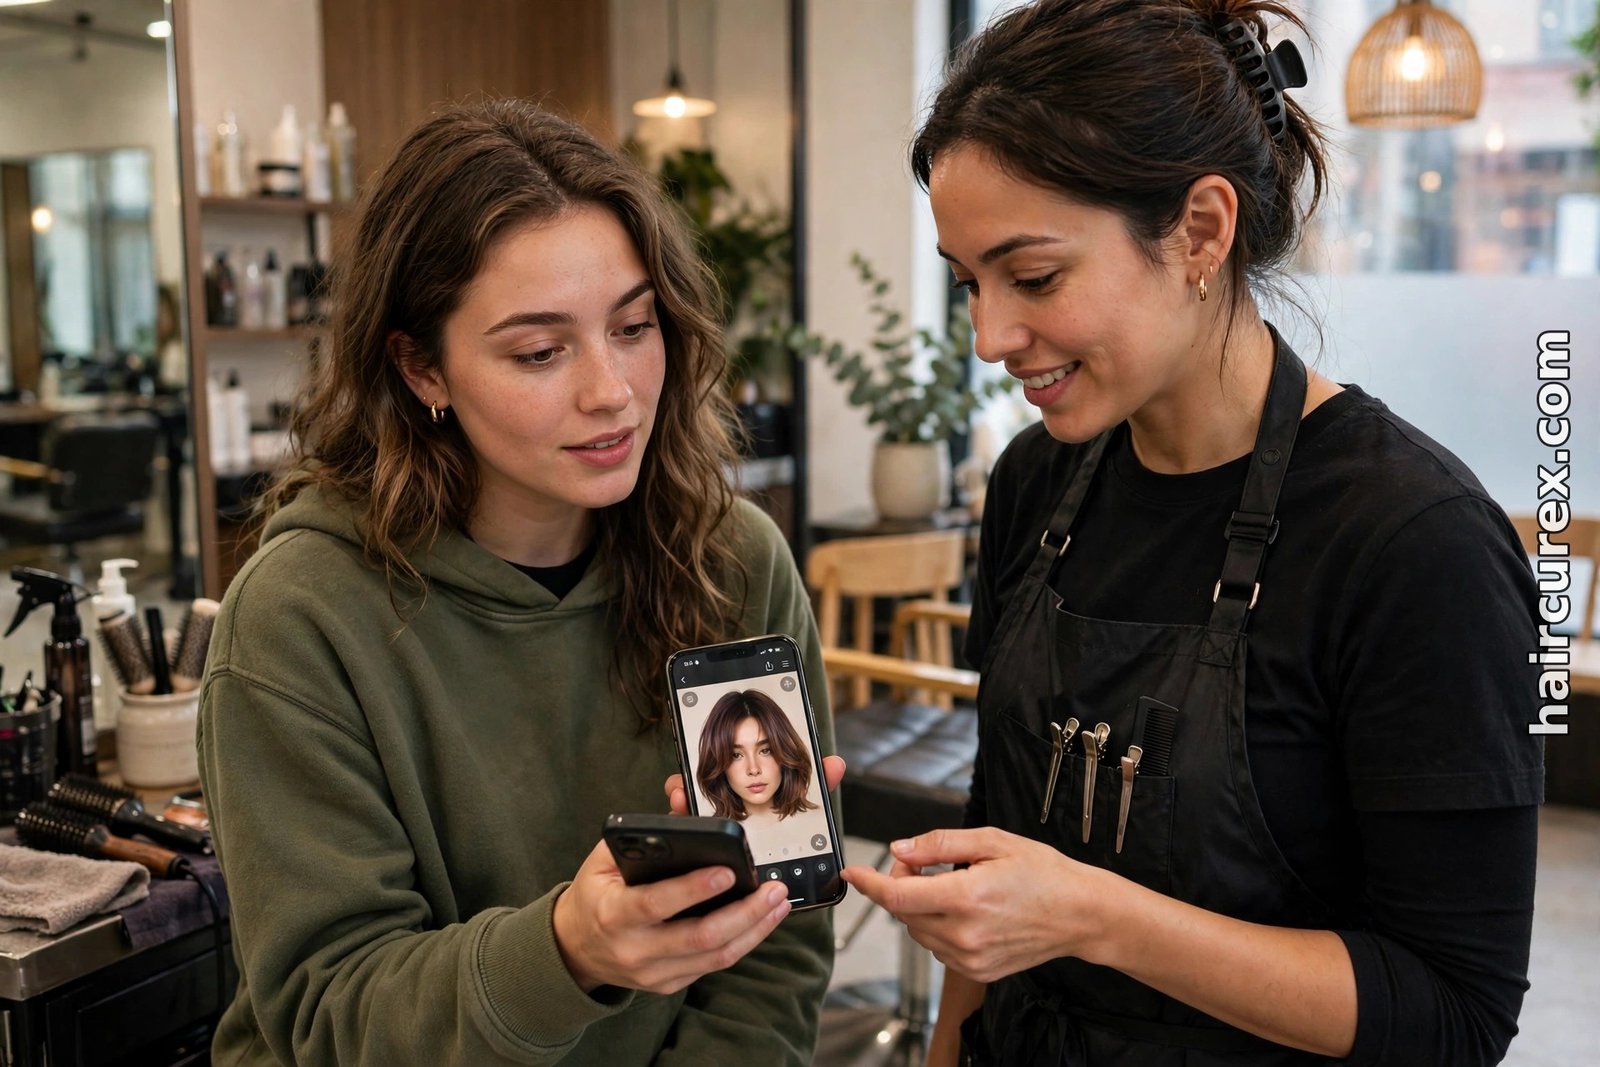
Take two or three saved previews to your appointment, not twenty. Show your stylist the winning style and one close alternative, and say what you like about each: the length, the fringe, the layering, the colour depth. Ask directly whether your hair type and thickness can hold that shape, how it will grow out, and how much daily styling it will need. A good stylist will tell you if a preview needs adjusting for your real hair — that conversation is the whole point of the preview.
Mention the things a filter cannot see: a cowlick, a strong natural parting, thinning at the crown, a scar you would rather cover, or a previous colour that is still in your lengths. Those details change which version of a preview is actually achievable, and they are easy to forget when you are excited about a screenshot.
If you are considering colour as well as a cut, decide the shape first and the colour second, so the appointment stays focused. Men testing shorter styles can also compare notes with our AI hairstyle changer for men guide, which covers fades, crops and quiffs in the same preview-then-barber spirit.
The Limits of a Hair Filter
Filters are weakest exactly where real hair is most individual. Texture is the biggest gap: many filters smooth curly or coily hair into a generic wave, and a preview that shows the same smooth texture for every style is a warning sign, not a result. Volume is another: a filter cannot tell how much natural lift your roots have, so a voluminous style may fall flat in real life, and a sleek style may puff up on humid days.
Colour is approximate too — phone screens, indoor lighting and the filter’s own colour grading all shift a shade, so a “chocolate brown” on screen may read warmer or darker in the salon.
Filters also cannot show maintenance. They cannot show how a cut grows out over six weeks, how it looks unstyled on a rushed morning, or how it behaves in wind, rain or after a workout. That is why the stylist conversation matters more than the screenshot: the filter narrows the field, and the stylist tells you what living with the style actually looks like. Used that way — playfully, honestly, and with a professional’s second opinion — a hair filter is one of the cheapest, lowest-risk ways to avoid a haircut you regret.
Frequently Asked Questions About Hair Filters
Q: What is a hair filter?
A: A hair filter is a camera effect in TikTok, Instagram or Snapchat that draws a different hairstyle or hair colour over your own hair in real time, so you can preview a cut or colour on your own face before visiting a salon.
Q: Are hair filters free?
A: Yes. The hairstyle effects inside TikTok, Instagram and Snapchat are free to use in the apps. Be wary of third-party filter apps that ask for payment details for a supposedly free preview.
Q: How do I find a hairstyle filter on TikTok?
A: Open TikTok, tap + to open the camera, tap Effects beside the record button, then tap the magnifying glass and search for the style you want, such as “bob haircut” or “hair color”. You can also tap an effect name on someone else’s video and choose Use this effect.
Q: Why did my favourite Instagram filter disappear?
A: Meta shut down its Spark platform for third-party effects on 14 January 2025, and effects made by outside creators and brands were removed from Instagram. Only Meta’s own effects remain, so search the gallery for a similar Meta-made look.
Q: Can a hair filter show my real curl pattern or texture?
A: Only approximately. Many filters smooth curly or coily hair into a generic wave, so treat texture in a preview as a rough guide. Test styles close to your natural texture and ask your stylist whether the preview’s texture is realistic for your hair.
Q: Should I show a filter preview to my stylist?
A: Yes. Take two or three saved previews, say what you like about each, and ask whether your hair type can hold the shape, how it will grow out, and how much styling it will need. A preview is a starting point for that conversation, not a substitute for it.