


Quick answer: To get soft, tousled beach curls at home, start with dry hair, mist on heat protectant, and wrap 1- to 2-inch sections around a 1- or 1.25-inch curling wand, leaving the last inch or two of each section out. Alternate the direction of each wave, let the curls cool, then break them up with your fingers and finish with texture spray. Prefer no heat? Braid or twist damp hair before bed and undo it in the morning. Either way, the secret is imperfection: beach curls should look lived-in and touchable, never stiff or overly polished.
Beach curls suit almost every length from a bob upward and work for casual days and evenings out alike. Most people go wrong in two ways: they curl too neatly, which turns waves into formal curls, or they use too much product, which turns texture into crunch.
What Do Beach Curls Actually Look Like?
Real beach curls are loose, S-shaped waves rather than round, springy curls. The roots stay fairly smooth, the bend starts around eye level or mid-length, and the ends stay mostly straight. That straight-end detail is what keeps the style looking modern and relaxed instead of formal.
Defined curls, by contrast, spiral evenly from root to tip and read as “styled.” Beach curls read as “just back from a walk by the sea,” even when you made them with a wand in your bathroom. If your waves look too perfect, they just need breaking up. A good layered haircut also helps, because layers let waves move separately instead of falling as one heavy sheet.
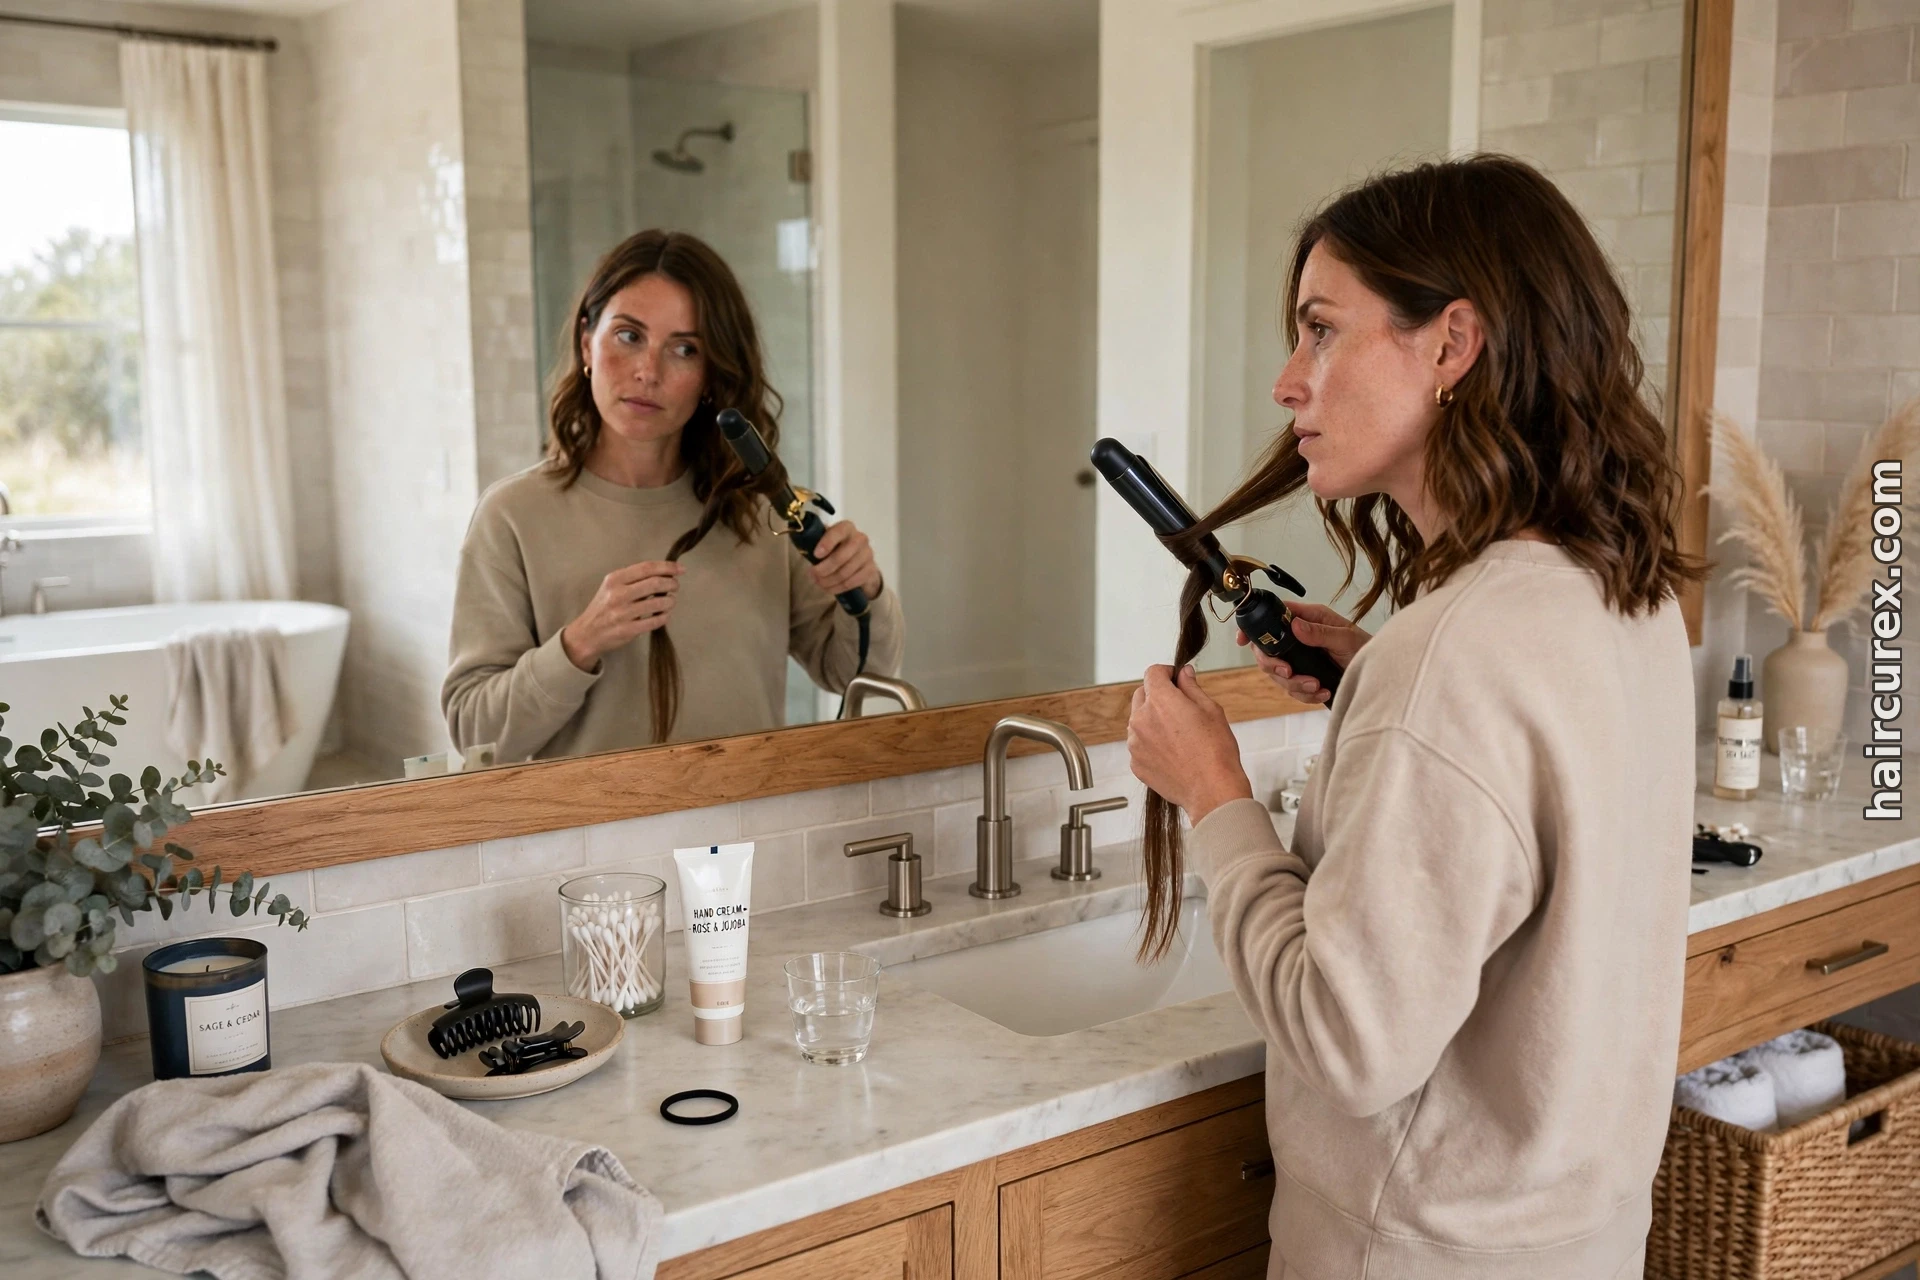
Before You Start: Prep That Makes or Breaks the Look
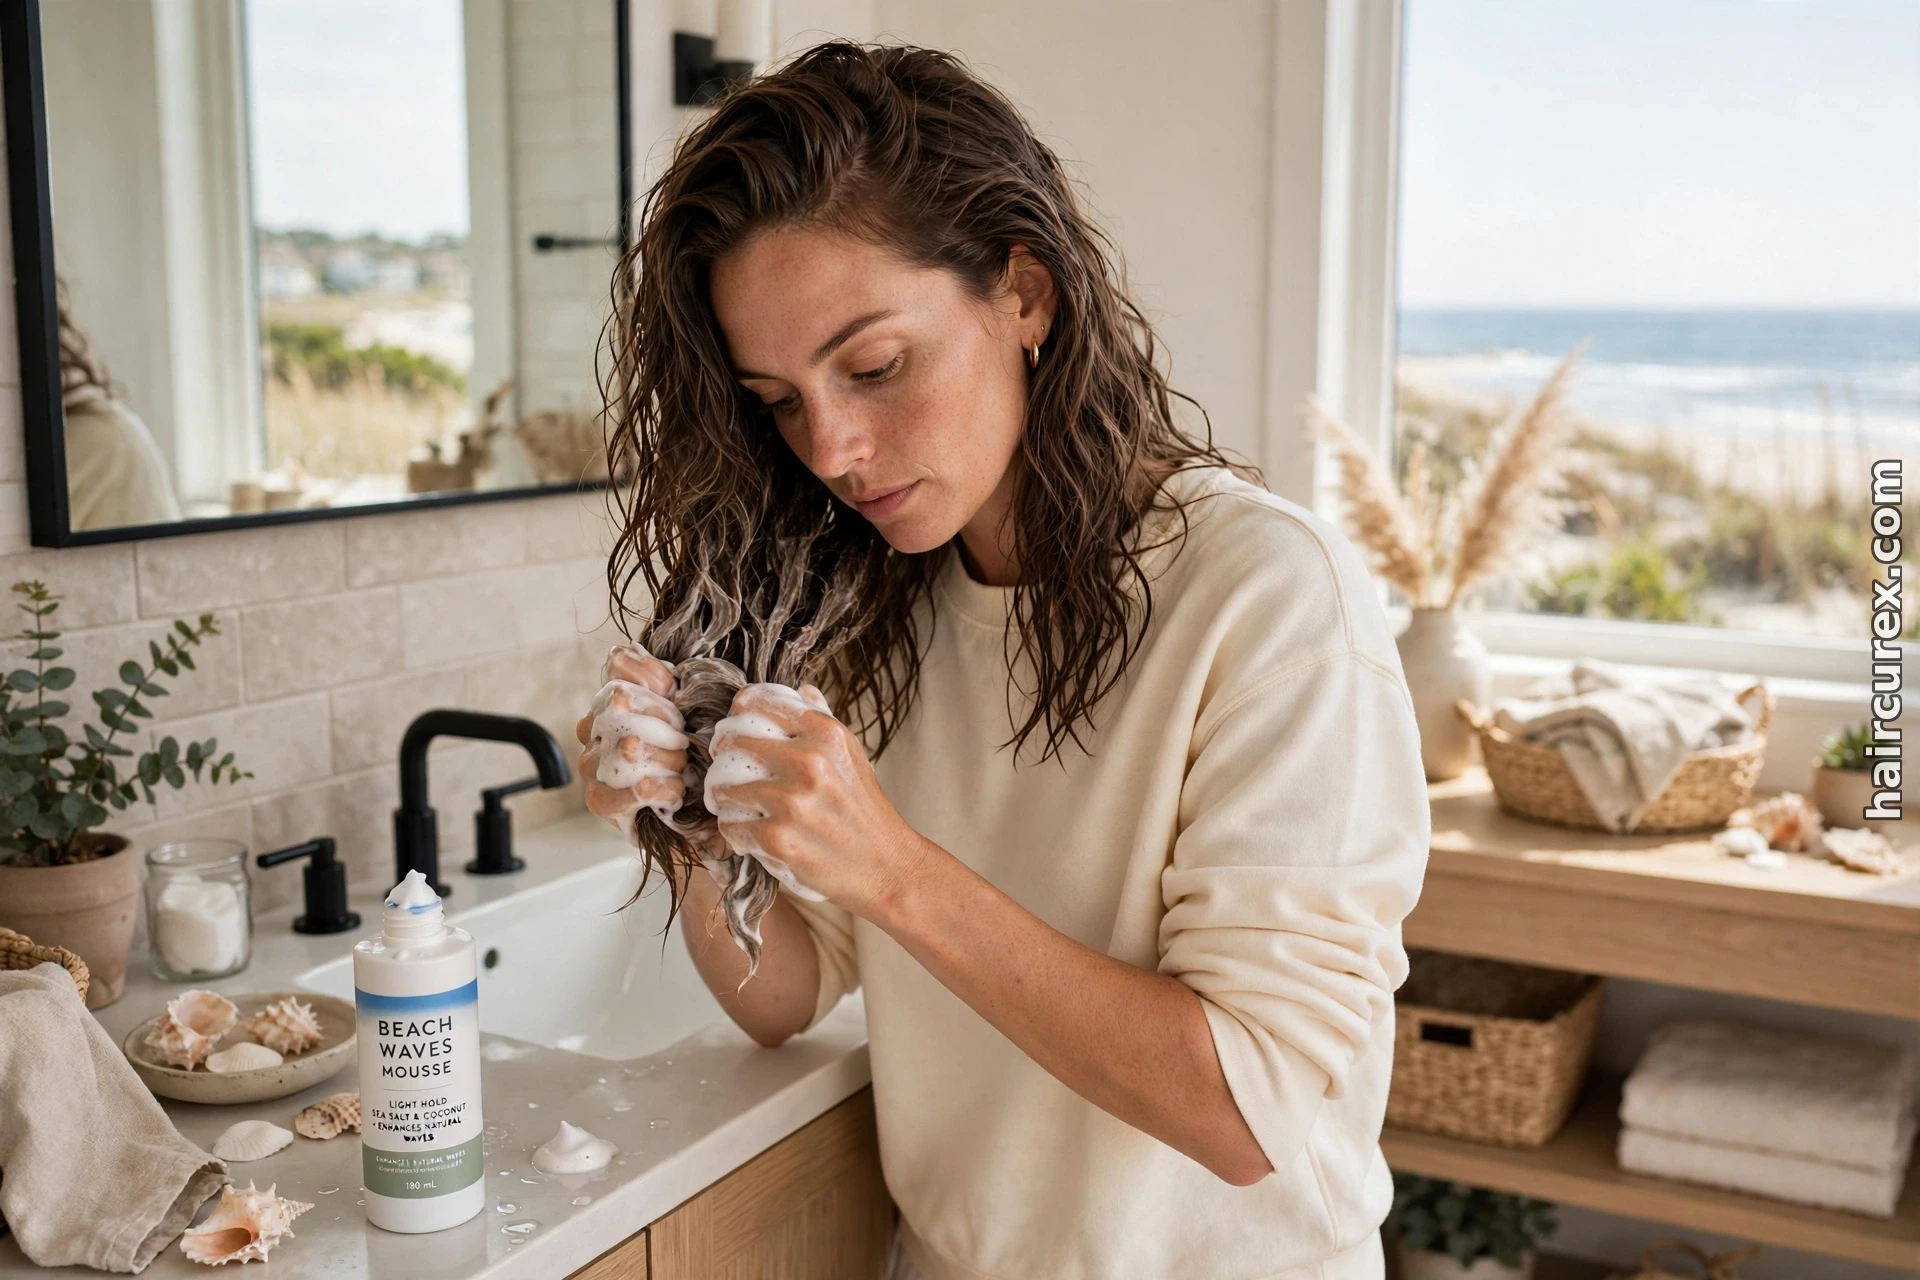
Good prep takes five minutes and saves you from redoing the style an hour later. Second-day hair often holds a wave better because it has natural grip; if you have just washed it, a light mousse or texture spray on damp hair gives the same grip without weighing it down.
Always dry your hair fully before using any hot tool. Curling damp hair can cause steam damage and uneven waves, and dermatologists advise using flat irons only on dry hair at a low or medium heat setting. Detangle gently and mist heat protectant from mid-lengths to ends.
How to Get Beach Curls With a Curling Wand
This is the fastest, most reliable method, and it works on straight, wavy, and curly hair alike. A 1-inch barrel gives classic beach waves; a 1.25-inch barrel gives looser, more voluminous waves. Use lower heat for fine or damaged hair and medium heat for thick or coarse hair.
- Section your hair into a bottom and a top layer, clipping the top away. Work from the bottom up.
- Take 1- to 2-inch sections. Smaller sections give more defined waves; larger ones give softer waves. Vary sizes slightly for a natural finish.
- Wrap away from your face. Hold the wand vertically, wrap the section around the barrel from a few inches below the roots, and leave the last 1 to 2 inches out. Hold a few seconds, then slide the wand out downward.
- Alternate directions so waves do not clump into one big curl. This creates the piecey, beachy separation.
- Let every wave cool before touching it. A warm wave stretches out when touched; a cooled wave has set.
- Break up the waves with your fingers or a wide-tooth comb, then mist with flexible-hold hairspray or texture spray.
If the ends came out too curly, run a flat iron lightly over just the last inch or two. Professional stylists use the same trick: Refinery29’s tousled-hair tutorial recommends flat-ironing only the bottom inch or two when the ends need smoothing, then finishing with a texture or beach spray.
Can You Get Beach Curls With a Flat Iron?
Yes, and a flat iron is often better for short hair or hair that is already smooth. Clamp a 1-inch section a few inches from the roots, twist the iron away from your face as you glide it slowly down, and release before the ends. A slow, steady glide gives a soft wave; a fast, jerky pass creates kinks.
How to Get Beach Curls Without Heat
No-heat methods take longer but cost nothing in damage, making them ideal if you style waves often or your hair is dry or color-treated. The idea is always the same: shape damp hair into bends, let it dry completely in that shape, then release it.
Overnight braids
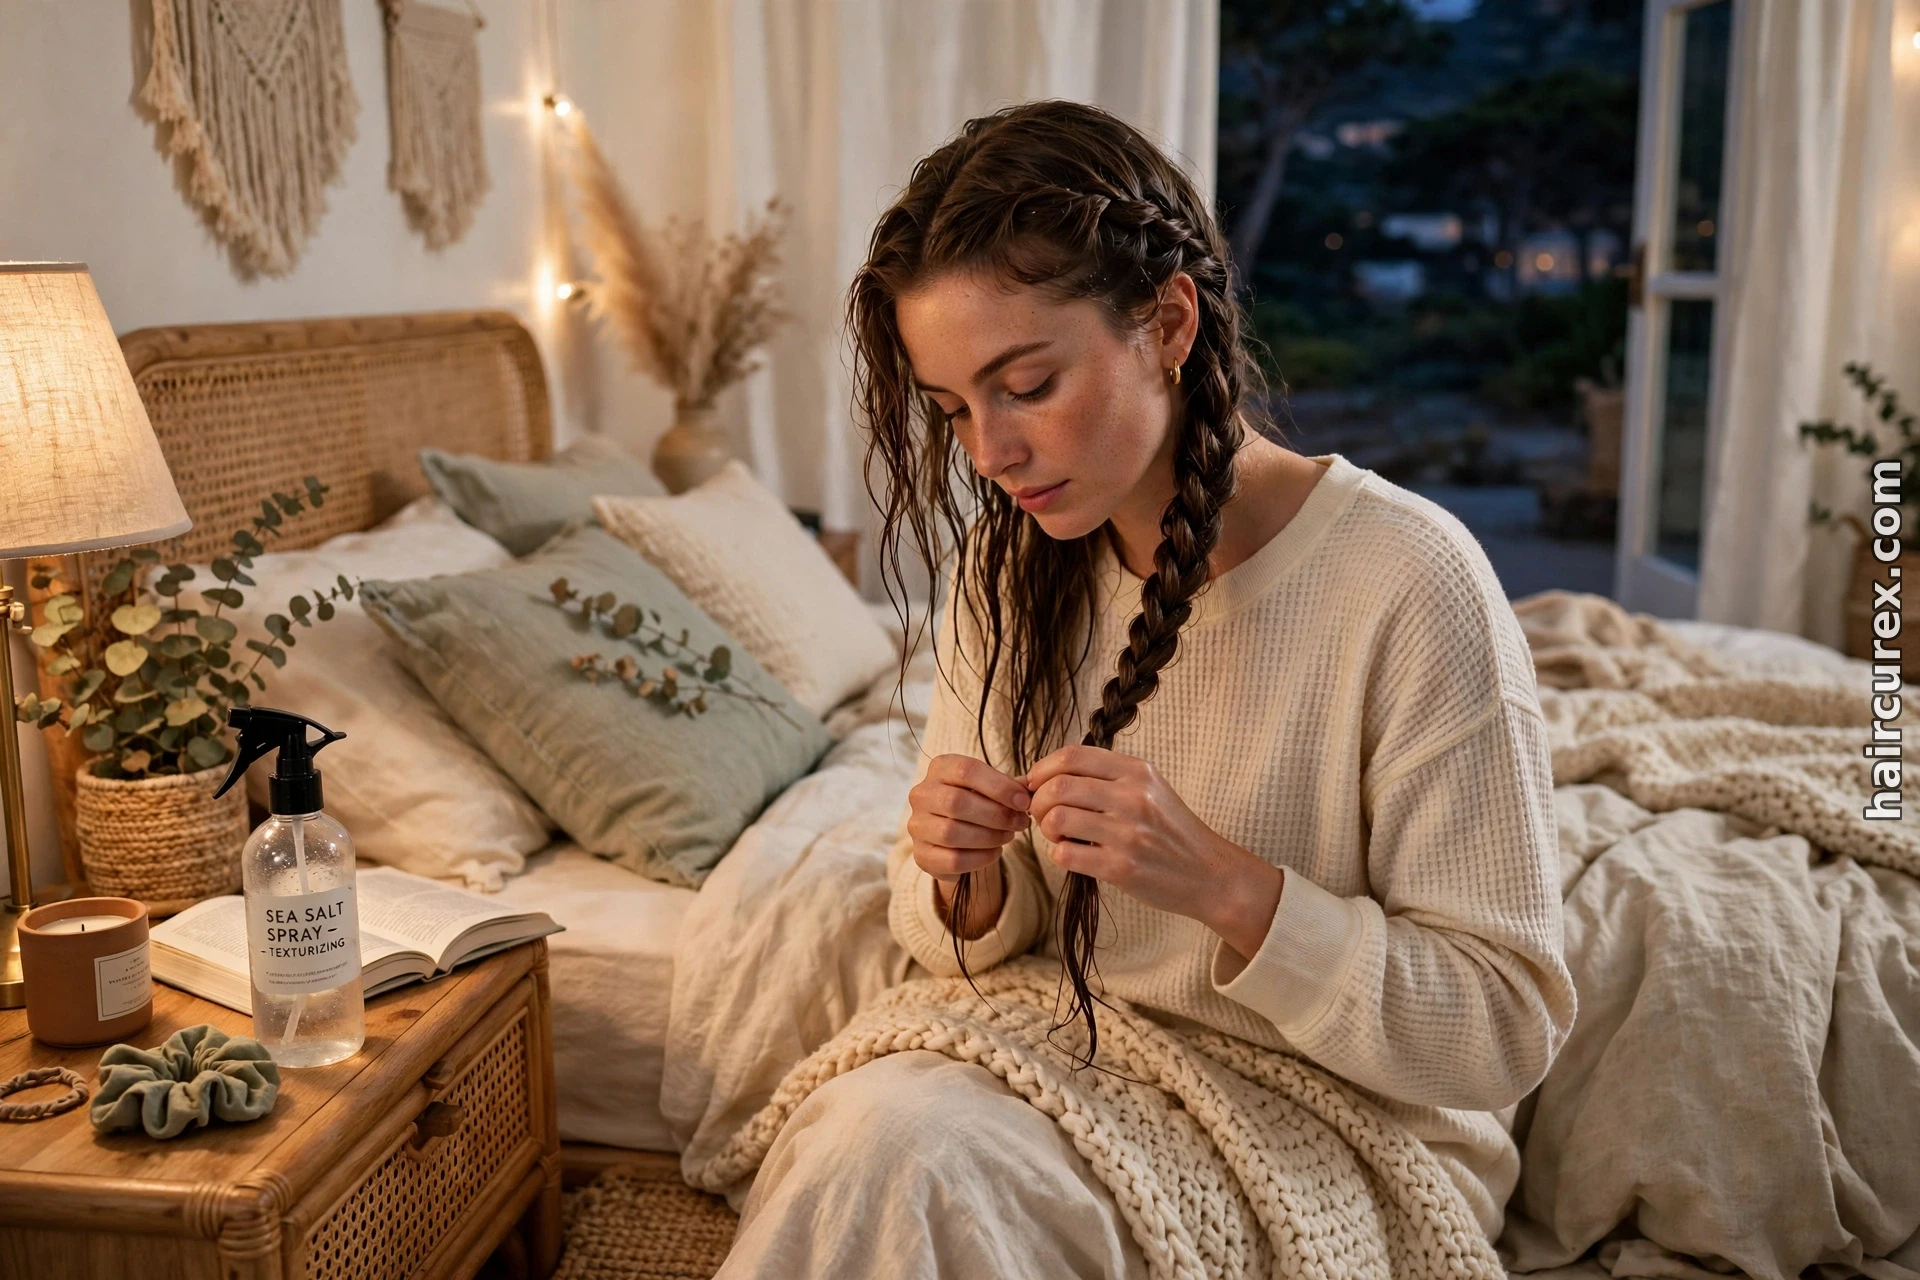
Apply a little mousse or curl cream to damp, detangled hair, then make two to four loose braids: two for loose, wide waves, four for more texture. Sleep on them, undo them in the morning, shake the waves out with your fingers, and finish with texture spray. Do not brush, which turns waves into frizz.
Twists and the robe-belt method
Twist sections of damp hair away from your face, coil each into a low bun, and pin loosely; one or two large buns give soft waves, four to six smaller ones give more definition. Alternatively, lay a dressing-gown belt across the top of your head like a headband and wrap 2-inch sections of damp hair around it overnight. Both methods suit wavy and curly hair especially well, since they enhance the pattern already there. Whatever method you choose, do not undo it while hair is still damp, or it will fall flat within an hour. For more on drying without frizz, see our guide to how to dry curly and wavy hair without frizz.
Heat vs No-Heat: Which Method Should You Choose?
Neither method is better in absolute terms; the right choice depends on your hair, your schedule, and how often you want the style.
| Method | Best for | Time needed | How long it lasts | Damage risk |
|---|---|---|---|---|
| Curling wand (1-1.25 inch) | Straight or wavy hair; fast waves | 15-25 minutes | All day with spray | Low with protectant, moderate heat |
| Flat iron waves | Short hair; smooth waves | 15-20 minutes | All day with spray | Low to moderate |
| Overnight braids | Wavy or curly hair; heat-free | 5 minutes, then sleep | Most of the day | Very low |
| Twists or robe-belt wrap | Soft waves without tools | 10 minutes, then sleep | Most of the day | Very low |
| Diffuser on natural waves | Naturally wavy or curly hair | 10-20 minutes | All day with curl cream | Low with low heat |
If you wear beach curls several times a week, rotate a heat method with a no-heat method to halve your heat exposure. A salon guide to creating effortless beach waves makes the same point from the technique side: smaller sections give more defined waves, larger ones a softer finish, and the final brush-through turns curls into waves.
Salt Spray vs Texture Spray: What Is the Difference?
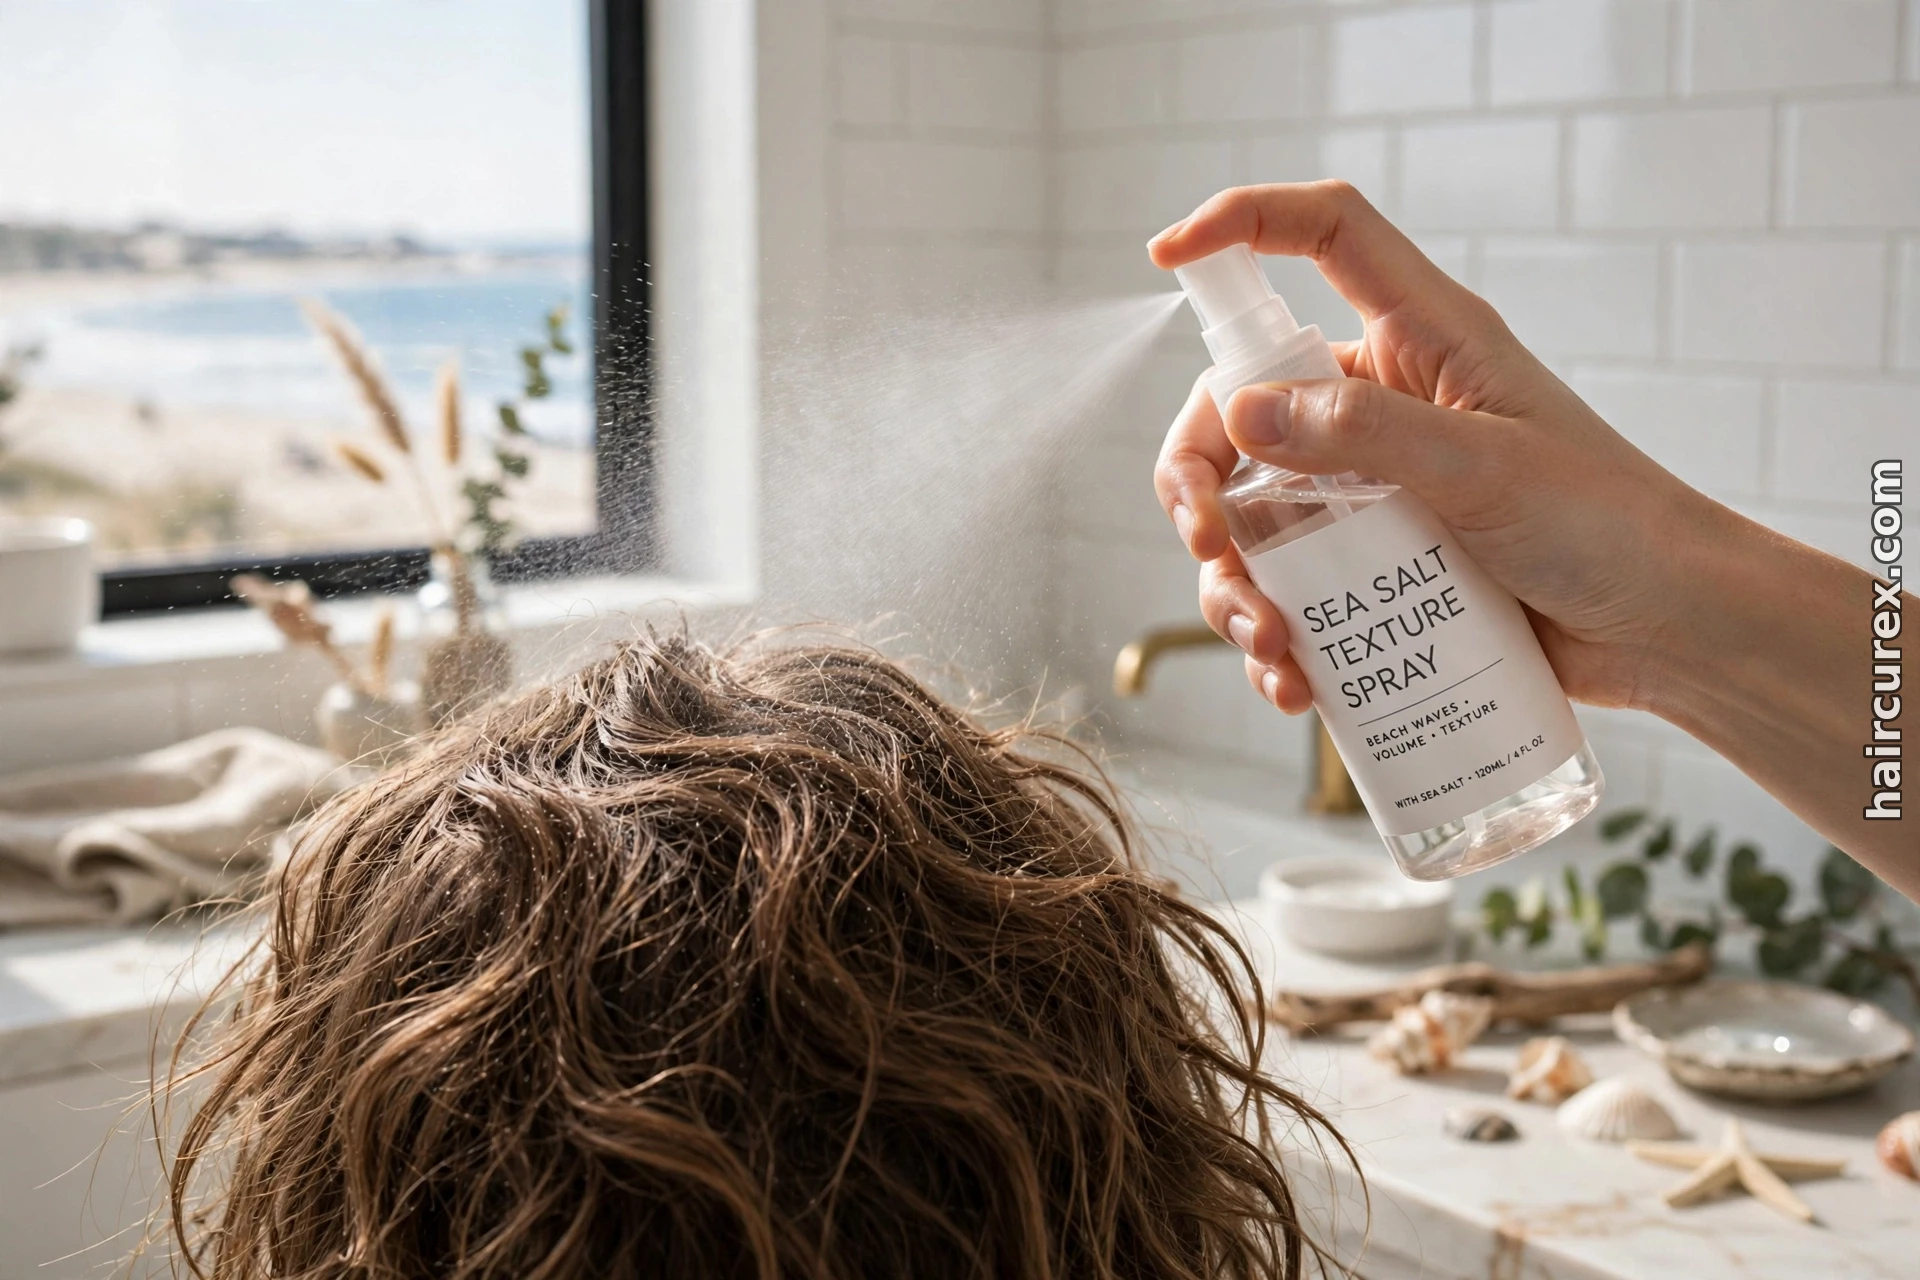
Salt spray mimics the gritty, matte texture of hair dried after swimming in the sea. It adds grip and separation and works best on damp hair before air-drying or diffusing, or lightly on dry hair for a piecey finish. It suits fine or straight hair that needs texture, but it can dry hair out if used daily, especially on dry or curly hair.
Texture spray is lighter and drier, applied to dry, styled hair. It adds volume, separation, and flexible hold without wetness or crunch, making it the better finishing product after a curling wand. In short: salt spray creates beach texture, while texture spray holds and separates waves you already made. For naturally wavy hair, a curl cream is often a better starting product than either spray; our guide to the best curl cream for wavy hair can help you pick one. If your hair is curly, a lightweight mousse scrunched into damp hair gives hold without heaviness, as covered in our roundup of the best mousses for curly hair.
Best Approach by Hair Type
Straight hair
Straight hair needs the most help holding a wave, so use a heat method or overnight braids rather than product alone. Apply mousse or texture spray to damp hair for grip, use a 1-inch wand so the wave lasts past lunchtime, and finish with flexible-hold spray. Avoid heavy creams and oils before styling, which weigh straight hair down and make waves slide out.
Wavy hair
Wavy hair is the easiest starting point. Scrunch curl cream or mousse into damp hair, diffuse on low heat or air-dry, and touch up only the flattest pieces with a wand. You often need heat on just the front sections, keeping damage low and the result natural. For care basics, see our guide to wavy hair.
Curly hair
Curly hair already has texture; the goal is to loosen it into waves. Diffuse to stretch the curl pattern as you dry, or loosely braid damp hair for a softer wave. Avoid brushing dry curly hair, which causes frizz, and use curl cream to keep waves defined but touchable.
Fine and thick hair
Fine hair holds beach curls well if you keep products light, build root volume with texture spray, use smaller wand sections, and let waves cool fully before breaking them up. Thick hair needs more time, slightly more heat, and disciplined sectioning so heat reaches through each section, plus a smoothing cream to control frizz and a stronger-hold spray to resist humidity.
How to Make Beach Curls Last All Day
Longevity is mostly about setting, not piling on product. Let waves cool fully, then finish with a light, flexible spray rather than a hard-hold one, which can look stiff and flake. For a midday refresh, lift the roots, mist lightly with texture spray or dry shampoo, and scrunch. If ends look frizzy, smooth one drop of oil over the ends only.
Humidity and Frizz: Keeping Waves Smooth
Humidity swells the hair shaft and turns smooth waves into frizz, so start with a smoothing conditioner or light anti-frizz cream on damp hair, and finish with a humidity-resistant spray for outdoor events. During the day, do not brush out frizz, which roughs up the cuticle further; smooth flyaways with a little cream or oil on your palms, or reshape waves with damp fingers.

Mistakes That Turn Beach Waves Into a Frizzy Mess
- Same direction, same section size every time. Uniform curls are not waves. Vary both.
- Touching curls while hot. Warm curls stretch out and lose their shape.
- Skipping heat protectant. Repeated unprotected heat dries hair out, and dry hair frizzes more easily. Dermatologist-backed guidance stresses low or medium heat and protection from excessive heat, as summarized in tips from dermatologists on styling hair without damage.
- Too much product. Layers of mousse, salt spray, oil, and hairspray create buildup, crunch, and weight. Pick one product for grip and one for finishing.
- Brushing dry waves with a fine brush. This breaks waves into fluff. Use fingers or a wide-tooth comb.
- Hot tools on wet hair. This damages hair and gives uneven waves. Dry fully first, every time.
- Over-curling the ends. Curly ends look formal, not beachy. Leave them out or straighten them lightly.
Frequently Asked Questions
How long do beach curls take to do?
With a curling wand, 15 to 25 minutes once you know the technique, less for short hair. No-heat methods take 5 to 10 minutes of hands-on time the night before, plus overnight drying.
Do beach curls work on short hair?
Yes, as long as your hair is at least bob length. Use a 1-inch wand or a flat iron and keep sections small.
Can I get beach curls without any heat at all?
Absolutely. Overnight braids, twists, and the robe-belt method all create soft waves with no heat damage. They work best when hair is damp when shaped and fully dry when released.
Why do my beach curls fall out within an hour?
Usually because curls were touched before cooling, too little grip product was used on clean hair, or the barrel was too large. Try second-day hair or a mousse base, a 1-inch barrel, full cooling, and a flexible-hold spray.
Is salt spray bad for your hair?
Occasional use is fine for most hair types, but daily use can be drying, especially on dry, curly, or color-treated hair. Use it a few times a week and follow with conditioner or a light oil on the ends if hair feels rough.
How do I keep beach curls from going frizzy in humidity?
Start with a smoothing or anti-frizz product on damp hair, finish with a humidity-resistant spray, and avoid brushing dry waves. Smooth daytime frizz with a drop of oil on the ends or reshape waves with damp fingers.
Should I wash my hair before styling beach curls?
Not necessarily. Second-day hair often holds waves better thanks to natural texture and grip. If you do wash, add mousse or texture spray to damp hair for grip, and dry fully before using any hot tool.
Final Thoughts
Beach curls look effortless because they rest on a relaxed technique, not perfection. Leave the ends out, alternate directions, let waves cool, and break them up gently. Choose the method that fits your hair and schedule, use salt spray or texture spray for the right job, and keep heat moderate and protected. With a little practice, you will have a go-to style for everyday wear, weekends away, and evenings out, no beach required.