

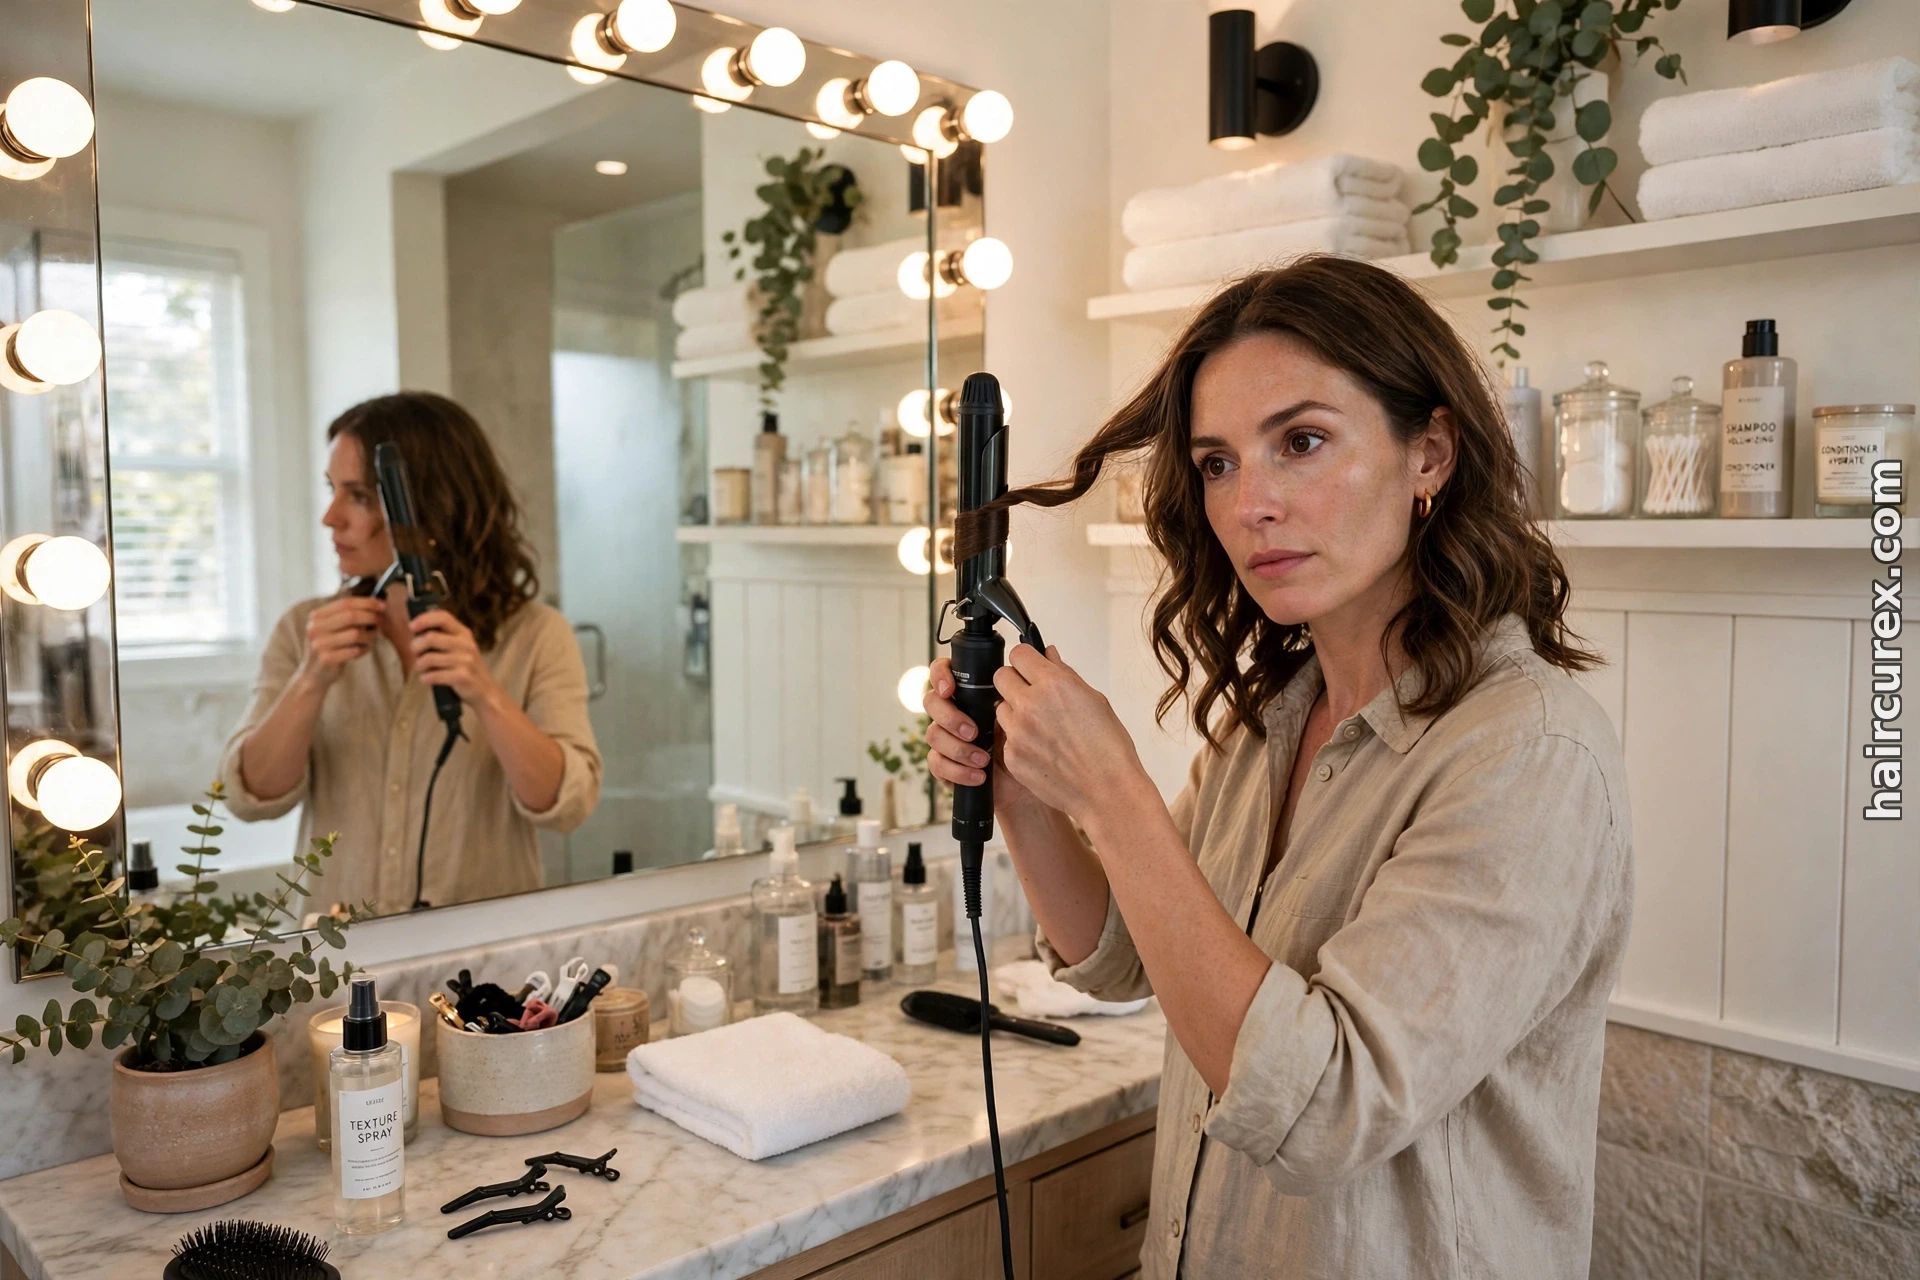
Quick answer: If you are wondering which direction to curl hair, start here: curl away from your face on both sides for an open, polished, modern look. On the right side, wind the hair clockwise; on the left side, wind it counterclockwise. That mirror-image movement makes both sides match. Curling toward the face gives a softer, more closed-in shape, while alternating directions gives a relaxed, beachy finish.
Direction sounds like a small detail, but it changes the whole result. The same iron, heat setting, and section size can produce very different styles depending on whether you curl toward or away from the face. Direction controls where the curl opens, how much volume you see, and whether the style frames or covers your face.
Which Direction to Curl Hair for a Polished Look?
For a polished finish, curl away from the face. This is the default most stylists use. Outward curls open up the face, keep the eyes and cheekbones visible, and make the hair fall in a smooth, intentional shape. They also hold well, because they are not constantly pushed aside or tucked behind the ears.
Toward-the-face curls are not wrong — they simply create a different mood. They wrap the hair around the cheeks and jaw for a softer, more vintage, romantic feel. Choose the direction on purpose, not by accident, and the style will look intentional.

Curling Toward the Face vs. Away From the Face
Think of each curl as an arrow. If the arrow points outward, away from your nose and cheeks, the curl opens the face. If it points inward, toward your nose and cheeks, the curl closes the face in. Away from the face usually gives more visible volume at the sides and keeps front sections out of your eyes. Toward the face feels fuller around the cheeks and more tucked-in at the ends.
| Curl direction | Finished look | Best for | Watch out for |
|---|---|---|---|
| Away from the face | Open, lifted, polished | Everyday waves, blowouts, layers | Can look too uniform; brush out gently once cool |
| Toward the face | Soft, romantic, vintage | Formal styles, retro waves | Can cover cheeks or fall into eyes |
| Mixed / alternating | Natural, textured, beachy | Beach waves, tousled texture | Keep face-framing pieces consistent |
| Same movement both sides | Twisted or lopsided | Rarely recommended | One side flips, the other falls flat |
How to Curl Each Side of Your Head: The Mirror Rule
This is where most people go wrong. Curling “the same way” on both sides does not mean repeating the same hand movement. It means creating a mirror image, with opposite movements on the left and right.
- Right side, away from the face: wind clockwise, moving outward and back.
- Left side, away from the face: wind counterclockwise, moving outward and back.
- Right side, toward the face: wind counterclockwise, moving inward.
- Left side, toward the face: wind clockwise, moving inward.
Hold the iron vertically, barrel pointing down, and wrap the hair around the barrel rather than twisting the iron itself. Keep the section flat against the barrel instead of twisting it into a rope first, because a twisted section heats unevenly and can become a tight spiral when you wanted a soft wave.
Stop after the first curl on each side and compare them. If one opens outward and the other curls inward, you repeated the movement instead of mirroring it — flip the direction on the mismatched side.
What About the Back of Your Head?
Split the back into left and right halves at your part or the center of the nape, then curl each half using the direction for that side. If you are alternating directions, alternate section by section across the back, but keep the front pieces consistent so the frame around your face stays clean.
Mixing Directions for Natural Volume and Texture
If uniform curls look too “done,” mixing directions is the fix. Alternating direction from section to section stops curls from merging into one large wave. Instead, they bounce off each other, creating separation, texture, and movement that looks natural rather than set.
Keep one rule fixed: always curl the face-framing pieces away from the face, then alternate the sections behind them. The front stays open and flattering, while the rest gains texture. This works well for wavy hair and for straight hair curled with heat, and it helps fine hair look fuller. Keep sections about one inch wide so the texture looks intentional, not random. A stylist guide to curl direction shows how each choice changes the finished shape.
Curl Direction for Face-Framing Layers and Bangs
Face-framing layers are where direction matters most, because they sit closest to your features. Curl them away from the face: this lifts the layers off the cheeks, shows the shape of the cut, and stops the shortest pieces from falling across your eyes.
For curtain bangs, curl away from the face at the roots and let the ends bend softly inward, or sweep them outward and back with a round brush and dryer. If bangs keep falling forward, use a smaller section, lower heat, and light hold spray once cool — and avoid over-curling the ends, which can make bangs spring up.
Curling layers away from the face also helps each layer sit separately rather than stacking into one shape. A good haircut guide can help you see how layers and bangs work together before you style. For a shaggy, textured cut, curl top layers away from the face for volume and alternate lower layers for piecey texture, as in our guide to the wolf cut for curly hair.

Short Hair vs. Long Hair: Does Direction Change?
The direction rules stay the same, but the technique changes with length. Short hair leaves less room for error, because a wrong-direction curl is immediately visible. Long hair is more forgiving, but heavier, so curls drop faster if sections are too large or brushed out before cooling.
Short hair (chin length and above)
Use a smaller barrel, usually three-quarters of an inch to one inch, and smaller sections. Curl front pieces away from the face, and leave the last half-inch uncurled if short hair flips outward too aggressively.
Medium hair (shoulder length)
Medium hair is the easiest length for learning direction: you can see what you are doing, and curls have enough length to form properly. A one-inch to one-and-a-quarter-inch barrel suits most people, and mixed directions work beautifully here.
Long hair (past the shoulders)
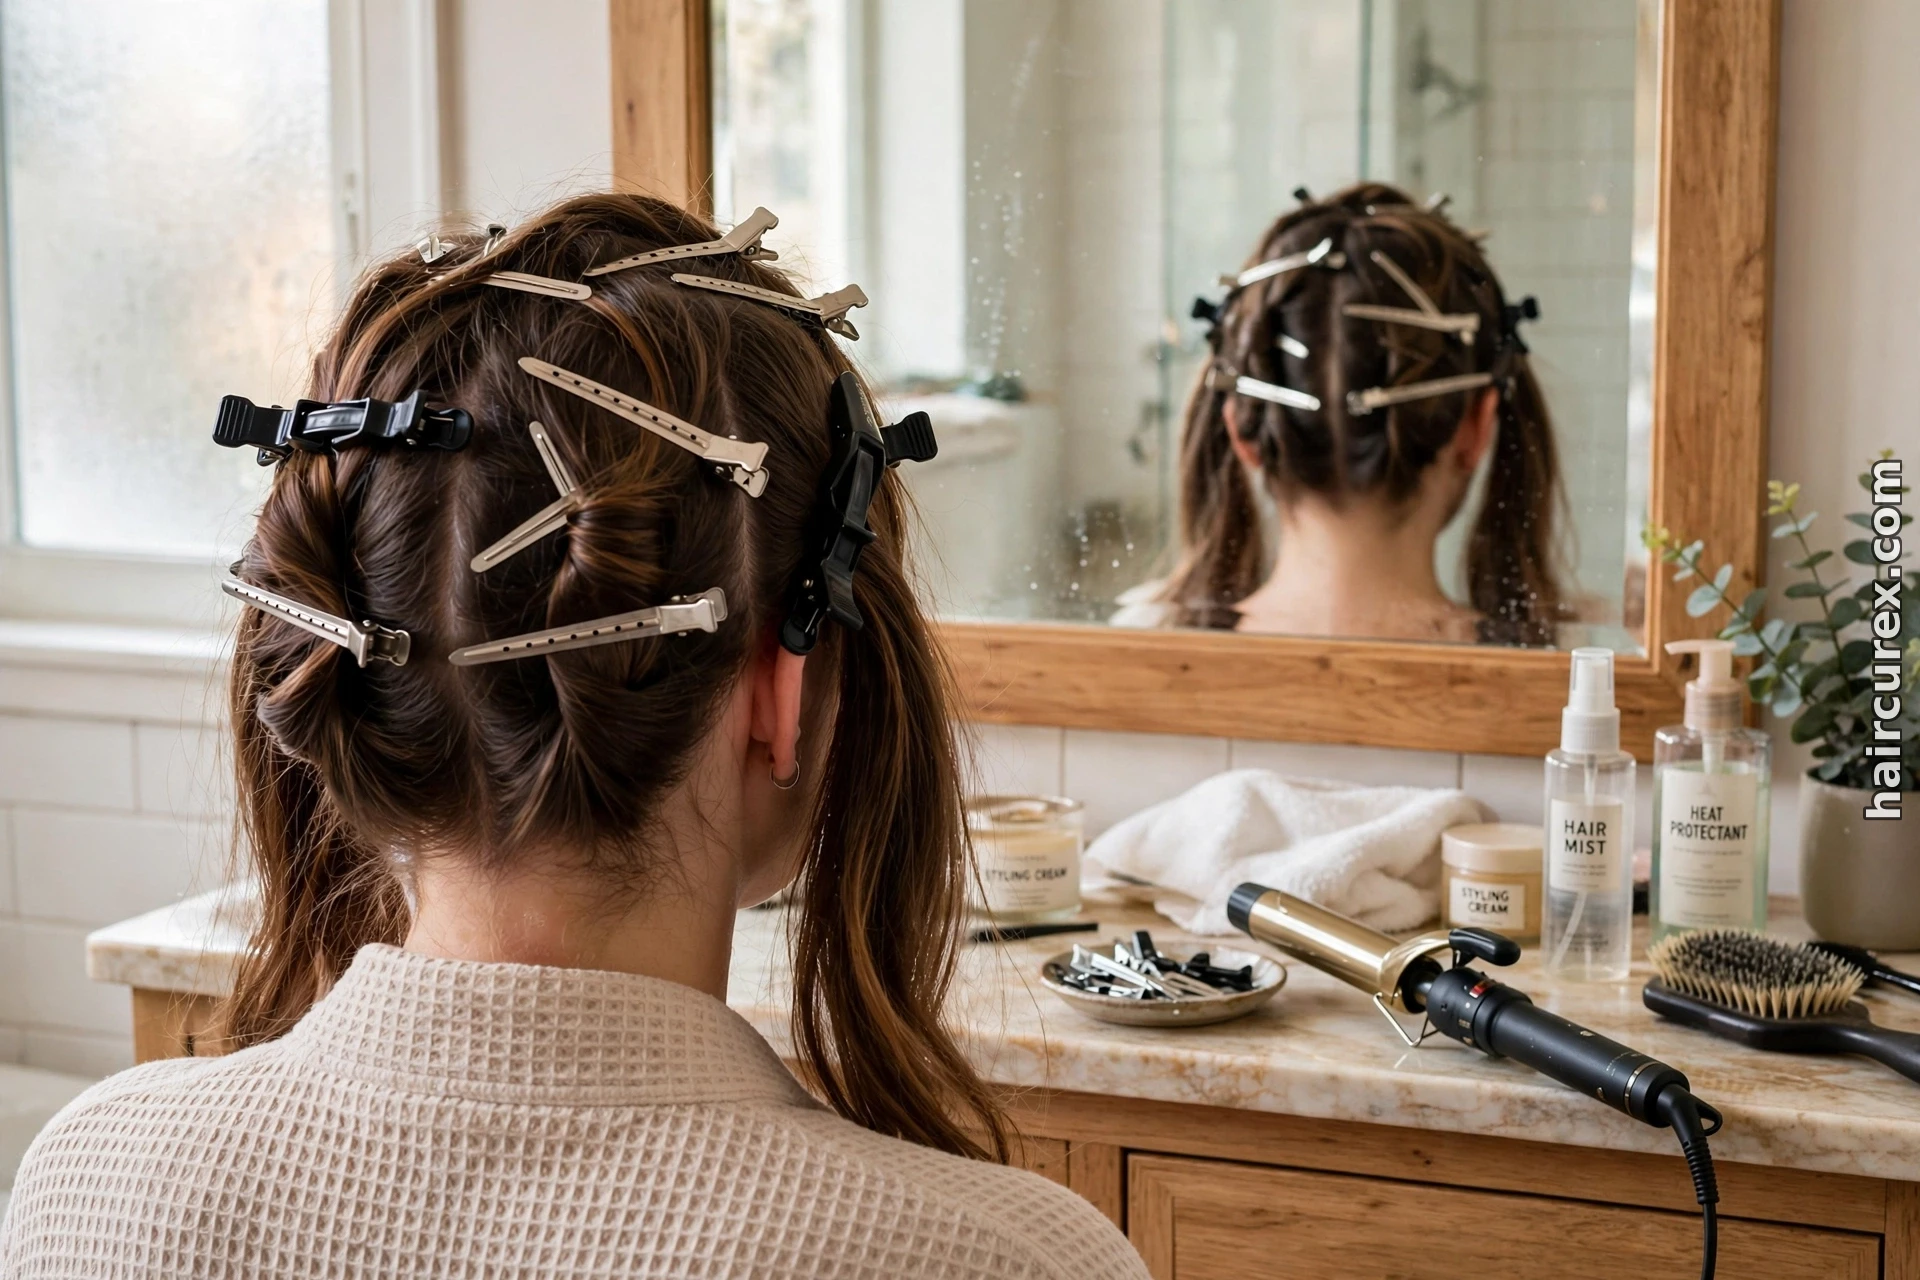
Work in horizontal layers from the bottom up, clipping top layers away so you miss nothing underneath. Start the curl in the middle of the section for more lift, let every curl cool completely, and consider a light mousse for grip — see our roundup of the best mousses for curly hair for curly and wavy textures.
Curling Iron vs. Wand vs. Flat Iron
The direction rules do not change with the tool, but the method does. Choose the tool that makes your chosen direction easiest to control.
Curling iron (with a clamp)
Clamp the section in the middle, wrap it around the barrel in your chosen direction, and glide toward the ends. Hold it vertically, barrel down, for loose waves; more horizontally for a classic, bouncy curl.
Curling wand (no clamp)
Wrap the hair around the wand by hand, keeping the section flat. Leave the very ends off the wand for a relaxed, beachy finish. Wands suit alternating directions well, because you can switch direction quickly. Wear the heat-resistant glove until you are confident.
Flat iron
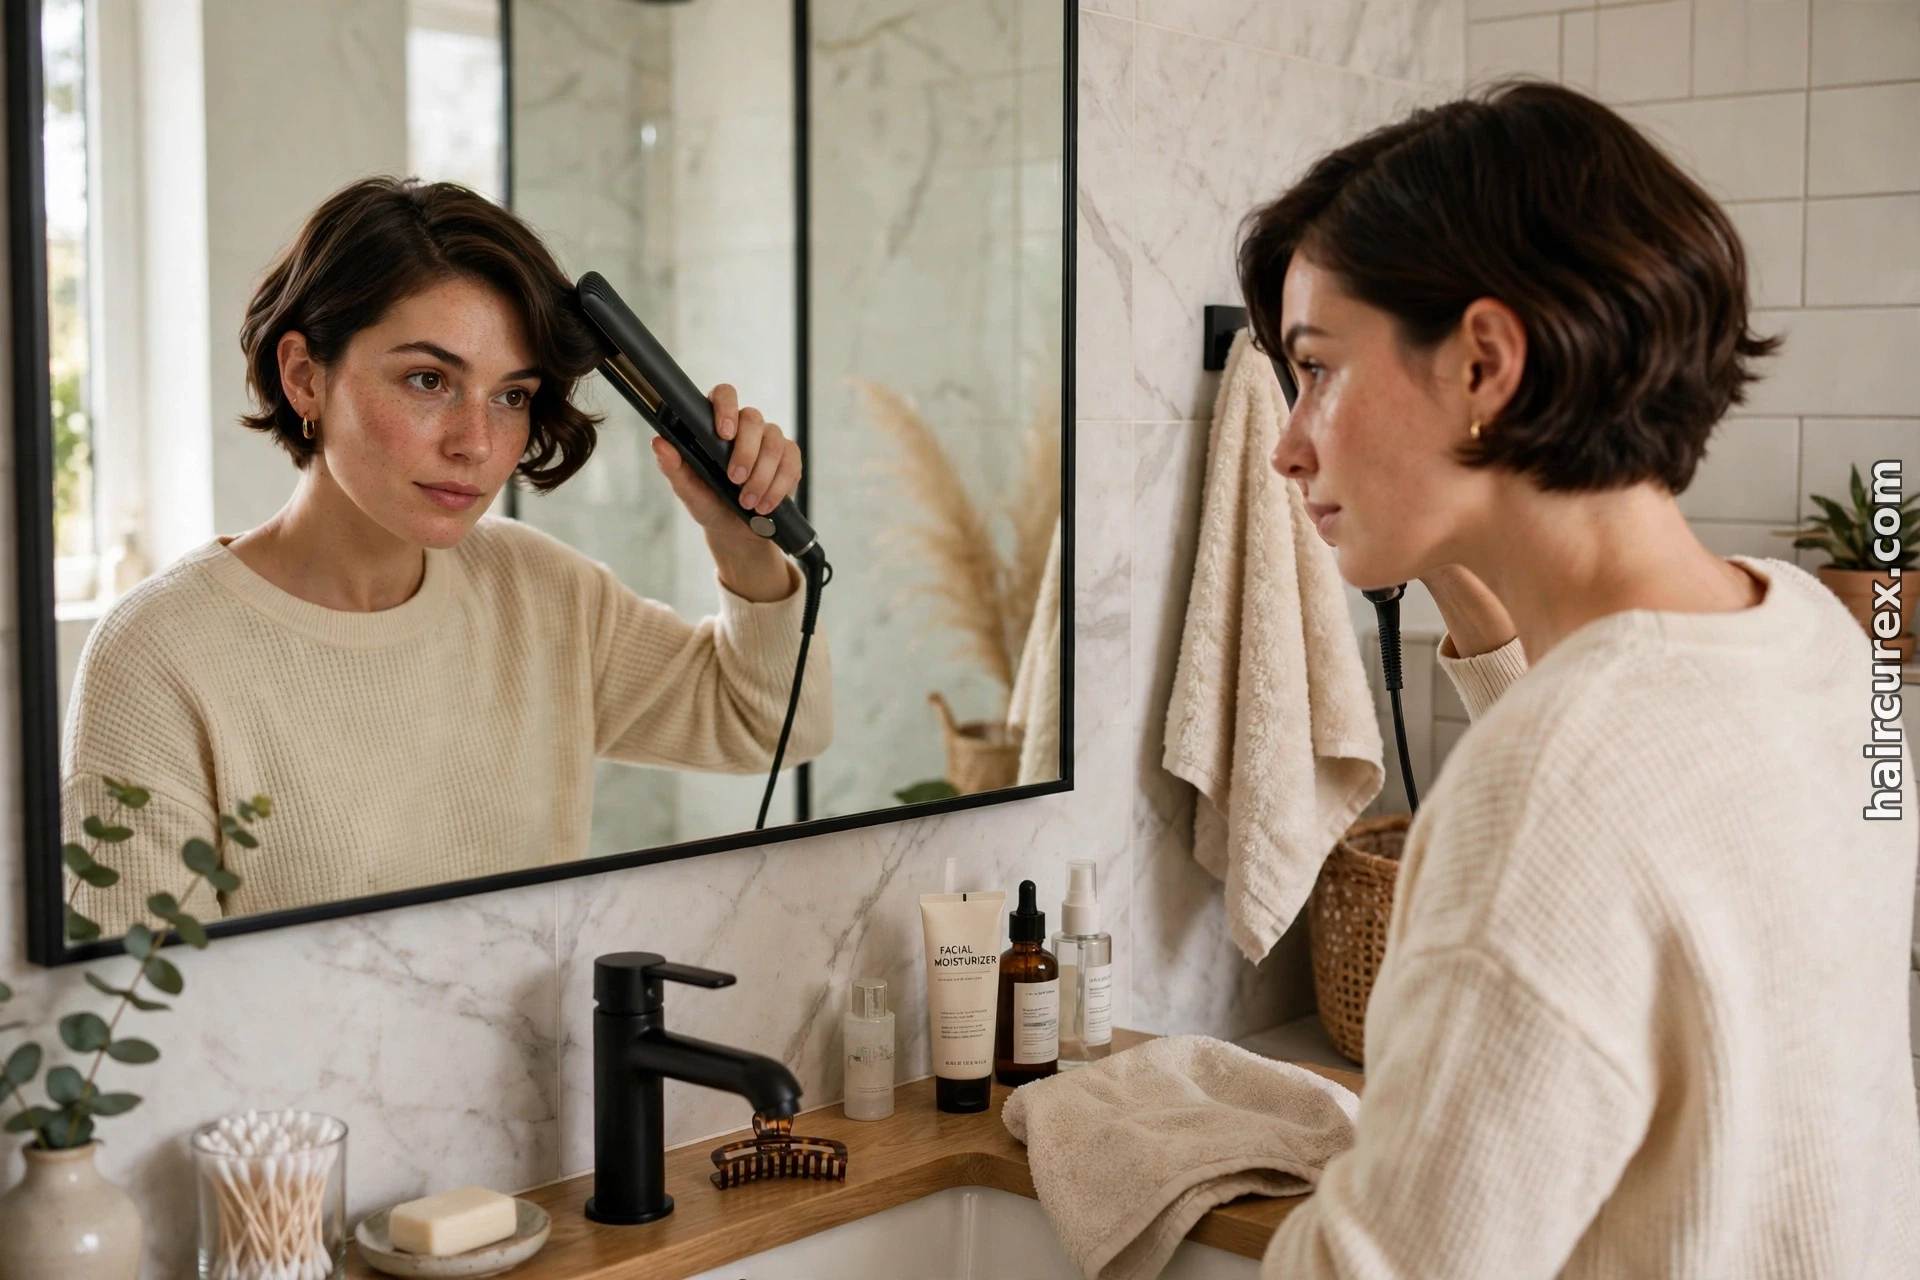
Clamp near the roots, twist the iron away from or toward your face, then glide slowly down. A half-twist gives a soft bend; a full twist gives a tighter wave. Flat-iron curls look more modern and less “set” than iron curls. Whichever tool you use, check the first curl on each side for a mirror image. A professional stylist’s curling guide gives the same advice: away from the face for a flattering result, alternating only for a casual texture.
Heat Protection and Prep: The Step You Should Not Skip
Always start with completely dry hair. Curling damp hair steams the strand from the inside, damages it, and stops the curl from setting. If hair feels even slightly cool or damp at the roots, dry it longer first.
Apply heat protectant evenly from roots to ends before sectioning. It guards against damage and adds grip, which helps curls hold. Use a moderate temperature for your hair type — fine hair needs less heat, thick hair a little more — rather than the highest setting. Moderate heat held a few seconds longer usually lasts better, with less damage.
Sectioning matters just as much. Work from the bottom up in layers, keeping each section roughly the width of your barrel. Wide sections heat unevenly, so the outside curls while the inside stays straight. For naturally curly or wavy hair, gentle drying also makes your direction more visible; see how to dry curly and wavy hair without frizz.
Mistakes That Make Curls Look Mismatched
- Repeating instead of mirroring. Same movement both sides = one outward curl, one inward curl.
- Same direction everywhere for a natural look. Curls clump into one wave; alternate behind the front pieces.
- Sections too large. Wide sections heat unevenly and drop quickly.
- Touching curls while warm. Curls set as they cool; touching them pulls them straight.
- Starting at the ends. This gives weak, rootless curls; start from the middle for lift.
- Skipping heat protectant or curling damp hair. Both cause frizz, damage, and curls that will not hold.
- Wrong barrel size. A small barrel fights a loose-wave goal, and vice versa.
- Over-curling front pieces. Tight front sections look stiff and hide the face; keep them softer.
If one side still differs, check section size and hold time on that side. Most people rush their non-dominant side, taking larger sections and holding the iron for less time. Slowing down there often solves it at once.
Step-by-Step: Curling Away From the Face
- Start with clean, dry hair; apply heat protectant evenly.
- Make your part first — it decides which sections belong to each side.
- Divide hair into bottom, middle, and top layers; clip upper layers away.
- Right side: wrap a one-inch bottom section clockwise, away from your face.
- Hold 8–10 seconds for medium hair (less for fine, more for thick), then release and let it cool untouched.
- Left side: wrap the matching section counterclockwise, away from your face.
- Work upward layer by layer, keeping front pieces away from the face.
- For a natural finish, alternate directions behind the front pieces; let everything cool fully.
- Shake curls out gently with fingers, or brush lightly for softer waves.
- Finish with light, flexible-hold hairspray, applied evenly.
For a toward-the-face style, reverse the wrap on each side. For a beachy style, keep front pieces away from the face and alternate the rest. The routine stays the same; only the direction changes.

Frequently Asked Questions
Should I curl my hair toward or away from my face?
Away from the face is the best default: it opens the face and looks polished and modern. Curl toward the face for a softer, romantic or vintage shape, and alternate directions for a natural, beachy texture.
Why does one side curl differently from the other?
Almost always because the movement was repeated, not mirrored. Away from the face means clockwise on the right and counterclockwise on the left. Using the same movement both sides makes one side curl outward and the other inward.
Do I curl the back of my hair in the same direction?
Yes. Split the back into left and right halves and use the direction for each side. If alternating for texture, alternate section by section, but keep the front pieces consistent.
Is it better to alternate curl directions?
For a natural, tousled look, yes — alternating stops curls merging into one uniform wave. For a polished blowout, no — curling away from the face on both sides gives a smoother result.
Which direction should I curl face-framing layers?
Away from the face, in almost every case. It lifts layers off the cheeks and keeps short pieces out of your eyes. The exception is a deliberate vintage style with inward-curling layers.
Does curl direction matter for short hair?
Yes, even more so, because there is less length to hide a wrong-direction curl. Use a smaller barrel, smaller sections, and curl front pieces away from the face.
Can I curl in different directions with a flat iron?
Yes. Twist away from your face for an outward curl and toward your face for an inward curl, then glide down slowly. Mirror the twist on each side for symmetry.
Final Thoughts
Away from the face gives an open, polished look; toward the face gives softness and romance; mixing directions gives natural texture and volume. None is wrong — but using one when you meant another makes a style look accidental instead of intentional.
Start with away from the face, learn the mirror rule until it feels automatic, then experiment with mixed directions. Check the first curl on each side, let curls cool before touching them, and keep sections even. Do that consistently, and your curls will look meant — on both sides, every time.
To sum up, when you decide which direction to curl hair, start by curling away from the face for a polished finish. If softness is the goal, knowing which direction to curl hair for a romantic shape means turning the ends inward instead. Whatever you choose, deciding which direction to curl hair on purpose keeps the style looking intentional.
The mirror rule is the easiest way to remember which direction to curl hair on each side: clockwise on the right and counterclockwise on the left for outward curls. Repeating the same movement instead of mirroring it is the most common reason one side looks different, so check which direction to curl hair on the left before you finish the right. Once you know which direction to curl hair for each side, both sides will match.
For beachy texture, alternate directions behind the front pieces, but always keep the face-framing pieces moving away from the face. Learning which direction to curl hair for layers matters most at the front, where short pieces show every mistake. Whether your hair is short, medium, or long, the same rule for which direction to curl hair applies — only the barrel size and section width change. And if you ever doubt which direction to curl hair, test one curl on each side first.
Heat protection and dry hair matter as much as direction, because damp or unprotected hair will not hold any curl. Before you pick up the iron, decide which direction to curl hair for the look you want — outward for polish, inward for softness, or mixed for texture. Then work in small sections, let every curl cool untouched, and you will see why which direction to curl hair is worth choosing deliberately. In short, which direction to curl hair changes the whole result, so make it a decision, not an accident.