

A blowout hair routine is the closest thing to a salon visit you can give yourself at home: smooth roots, soft volume, and ends that curve exactly the way you want them to. A professional blowout looks effortless, but it is really a sequence — the right wash, the right products, the right tools, and a section-by-section technique that smooths the hair cuticle while the shape sets. Done in the right order, it works on straight, wavy, and curly hair alike, and it costs nothing beyond the tools you probably already own.
Done in the wrong order — soaking-wet hair, no heat protectant, the dryer held too close — it leaves hair frizzy, flat, or damaged. This guide walks through the whole blowout hair process step by step: what a blowout actually is, the tools and products you need, the exact technique, the right heat settings for your hair type, how to shape different styles, how long a blowout lasts, and the mistakes that undo all your work.
Quick answer: To get a salon blowout at home, start with clean, towel-dried hair that is about 70-80% dry, apply a heat protectant, and work in small sections from the bottom layers up. Place a round brush under each section at the roots, pull it slowly through to the ends while the dryer follows with the nozzle pointed down, then finish each section with a shot of cool air to set the shape. Use low or medium heat for fine or damaged hair and medium heat for thick hair, keep the dryer moving, and never blow-dry soaking-wet hair. A good at-home blowout hair routine takes 20-40 minutes depending on your hair length and thickness.
What Is Blowout Hair?
Blowout hair is hair that has been dried and shaped with a blow dryer and a brush, rather than left to air-dry or straightened with flat irons. The name comes from the salon service: a stylist washes your hair, then blow-dries it section by section with a round brush to create a smooth, voluminous finish. The result is not pin-straight and not curly — it is smooth with movement, volume at the roots, and ends that turn under, flip out, or fall in soft waves depending on how the brush was used.
What makes blowout hair different from simply blow-drying your hair is tension and direction. When a brush holds a section of hair taut while hot air passes through it, the heat softens the hair’s shape and the tension smooths the cuticle flat. As the section cools, the shape sets — that is why a blowout holds its bounce for days while a quick rough-dry falls flat within an hour. The cool shot at the end of each section matters as much as the heat: it locks the cuticle closed, which is what gives the finished blowout its shine.
Blowout hair is also gentler than it looks. Because the heat comes from moving air rather than hot plates pressed against the hair, it is less damaging than flat ironing — provided you use a heat protectant, the lowest effective heat setting, and you do not blow-dry the same section over and over. The American Academy of Dermatology advises air drying when possible, using low or medium heat settings, and using a heat-protective product whenever you style with heat.
For a second professional take on the technique, see Bustle’s guide on how to blow out your hair in 5 easy steps.
What You Need for a Blowout at Home

You do not need professional equipment, but you do need the right basics. The dryer matters most: a dryer with at least 1,800 watts, a concentrator nozzle, and a cool-shot button will give you far better results than a basic travel dryer. The nozzle is not optional — it focuses the airflow into a narrow stream so you can aim it down the hair shaft, which is what smooths the cuticle and prevents frizz. Without it, hot air scatters in every direction and the finish looks rough.
| Tool or product | What it does | What to choose |
|---|---|---|
| Hair dryer with nozzle | Dries and shapes each section | 1,800+ watts, concentrator nozzle, cool-shot button |
| Large round brush | Creates tension, volume and curl at the ends | Ceramic barrel; 2-inch for medium/long hair, 1.5-inch for short hair |
| Paddle brush | Detangles and rough-dries | Wide paddle, flexible bristles |
| Heat protectant | Shields hair from heat damage | Spray for fine hair, cream or serum for thick hair |
| Sectioning clips | Keep unfinished hair out of the way | 4-6 duckbill or alligator clips |
| Volumizing mousse or smoothing cream | Adds hold and controls frizz | Mousse for volume, cream for smoothness |
| Lightweight hair oil or serum | Adds shine and tames flyaways | A pea-sized amount on the ends only |
If the two-tool coordination of a dryer plus a round brush feels too hard, a hair dryer brush combines both into one tool and is a good starting point for beginners — it dries and shapes in a single pass, though it is slower than a separate dryer. For curly hair, a hair diffuser is the better tool when you want to keep your natural curl pattern instead of smoothing it out.
How to Do a Blowout at Home: Step by Step

Step 1: Wash and prep
Start with clean hair. Use a shampoo suited to your hair type and apply conditioner only from the mid-lengths to the ends — conditioner on the roots weighs your blowout hair down and kills volume. Rinse thoroughly, then gently squeeze out excess water with a microfiber towel or an old cotton T-shirt. Never rub your hair with a rough towel; wet hair is at its weakest and rubbing roughs up the cuticle, which is the first cause of frizz. If your hair tangles easily, detangle now with a wide-tooth comb, working from the ends upward.
Step 2: Apply heat protectant and styling product
While your hair is still damp, apply a heat protectant evenly through the lengths and ends — this is the single most important step for preventing damage. Then add your styling product: a palmful of volumizing mousse at the roots if you want lift, or a small amount of smoothing cream through the lengths if frizz is your main problem. Do not overload the product; too much leaves hair sticky and heavy, and your blowout hair falls flat.
Step 3: Rough-dry to 70-80% dry
Before you pick up the round brush, rough-dry your hair with just the dryer and your fingers on medium heat. Lift sections at the roots with your fingers and move the dryer constantly. This step removes most of the water quickly and cuts your total heat exposure — starting the brush work on soaking-wet hair takes far too long and damages the hair. Stop when your hair is about 70-80% dry: still slightly damp, but no longer dripping.
Step 4: Section your hair
Divide your hair into 4-6 sections with clips. Start by clipping the top layers up and out of the way, leaving the bottom layer at the nape free. Work from the bottom up, one section at a time. Small sections are the secret to a smooth blowout: a section wider than your brush will not dry evenly, the middle stays damp, and the finish looks uneven. For thick hair, use more, smaller sections rather than rushing through big ones.
Step 5: Blow-dry each section with the round brush
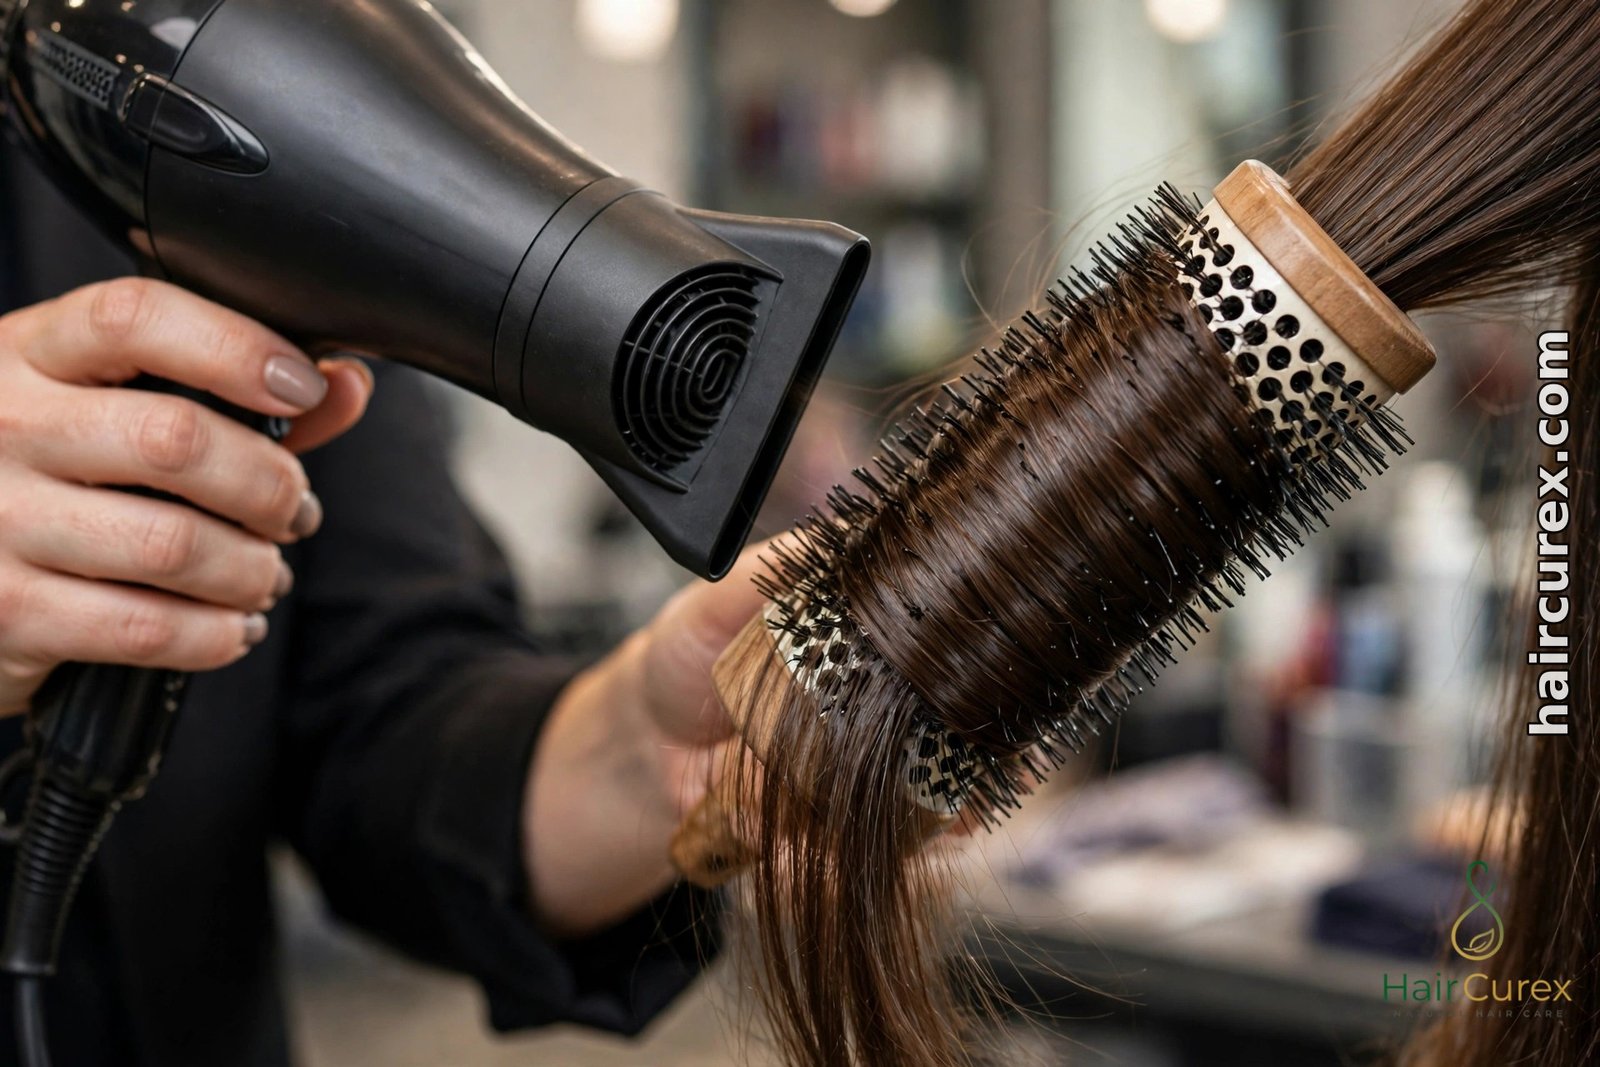
Take one section and place the round brush underneath it at the roots. Aim the dryer nozzle down the hair shaft — never up, which lifts the cuticle and creates frizz — and pull the brush slowly through the section while the dryer follows just behind it. Keep tension on the hair the whole way: the brush should grip the section firmly enough to pull it smooth. As you reach the ends, roll the brush under for a classic curved finish, or roll it outward for a flipped, bouncy look. Hold the ends on the brush for a few seconds so the heat sets the shape.
Step 6: Build volume at the crown
For volume at the roots, take the top sections and pull the brush up and away from your head, directing the airflow at the roots while the hair is lifted. Over-directing is the trick stylists use for lift: pull each section in the opposite direction from where it will finally fall, dry it there, and when you let it drop it keeps the volume. Finish the crown last so the volume does not get flattened while you work on the lower layers.
Step 7: Set with cool air
Once a section is fully dry, hit it with the cool-shot button for 5-10 seconds while it is still wrapped on the brush. The cool air closes the cuticle and locks the shape in place — this is the step most people skip, and it is the reason salon blowouts look shinier and last longer than home ones. Work through every section the same way, bottom to top, then release the clipped-up layers and repeat.
Step 8: Finish and shine
When all sections are dry, flip your head upside down and give the roots a quick blast of cool air for extra lift, then flip back and smooth the surface with your fingers. Warm a pea-sized amount of lightweight hair oil or serum between your palms and smooth it over the ends and any flyaways — never near the roots, where it will make hair look greasy. A light mist of flexible-hold hairspray from arm’s length adds staying power without stiffness.
Blowout Hair for Every Hair Type
The technique is the same, but the settings and products change with your hair type. Fine hair needs the gentlest approach: low heat, a large round brush for volume, and lightweight products, because heavy creams and high heat flatten fine hair and make it look oily. Thick hair can take medium to high heat and benefits from a smoothing cream, but it needs smaller sections and more time. Curly hair needs to be nearly dry before the brush work starts, and a smoothing cream helps the brush glide through without frizz.
| Hair type | Heat setting | Brush size | Best products | Watch out for |
|---|---|---|---|---|
| Fine | Low to medium | Large round brush (2-inch) | Volumizing mousse, light spray protectant | Heavy creams, high heat, over-drying the ends |
| Medium / wavy | Medium | Large round brush | Smoothing cream, light oil | Frizz at the crown, uneven sections |
| Thick | Medium to high | Large round brush | Smoothing cream, serum | Rushing big sections, skipping the cool shot |
| Curly | Medium | Large round brush or paddle | Smoothing cream, heat protectant | Brush work on wet hair, skipping detangling |
| Damaged / color-treated | Low | Medium round brush | Cream protectant, leave-in conditioner | High heat, daily blowouts, no protectant |
If your hair is very curly and you want a smooth blowout, expect it to take longer and need smaller sections — the brush has to straighten the curl pattern as it dries, which takes more passes. If you regularly straighten curly hair with heat, a keratin treatment can make blowouts faster and smoother for several months, because it loosens the curl pattern semi-permanently. And if frizz is your main frustration, our guide on how to get rid of frizzy hair covers the wash-day habits that make the biggest difference before you even pick up the dryer.
Blowout Styles: Sleek, Bouncy, or Voluminous
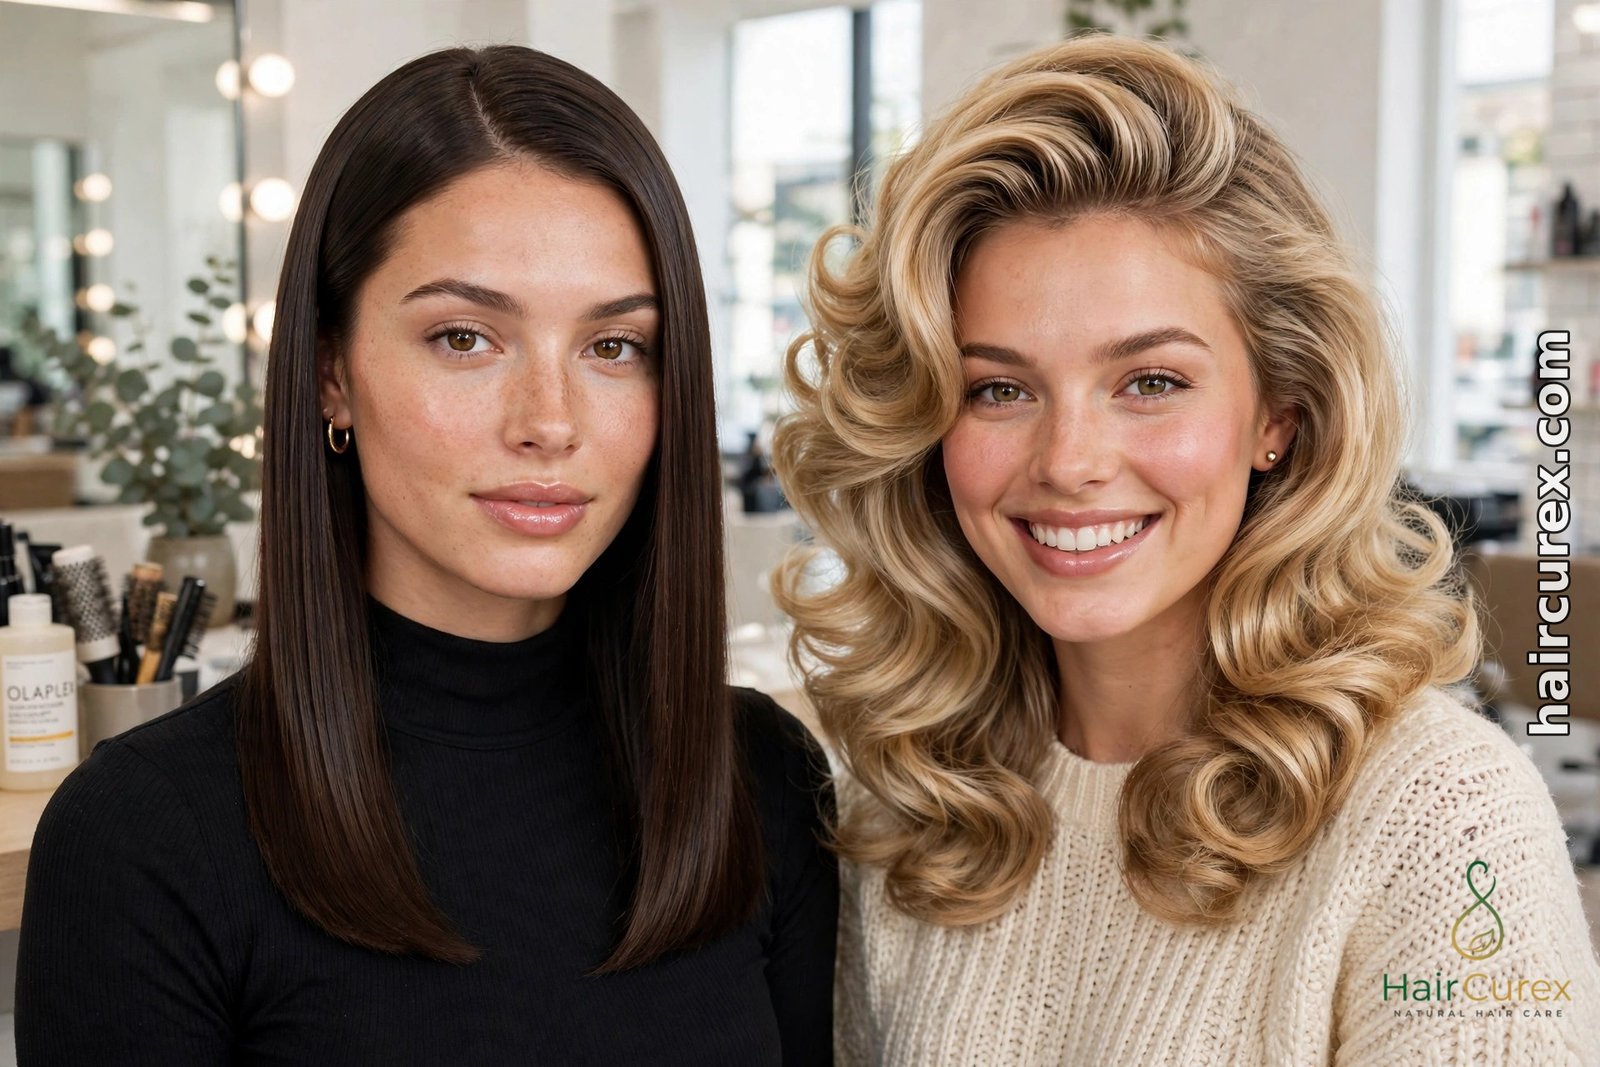
One technique, three finishes — the difference is how you hold the brush at the ends and how much lift you build at the roots.
The sleek blowout is smooth from root to tip with ends that turn gently under. Use a large round brush, keep the tension even, and roll the ends under at the last moment. This is the most polished, office-ready finish, and it suits a bob haircut beautifully — the curved ends show off the shape of the cut.
The bouncy blowout hair style has volume at the roots and ends that flip out or curl softly. Use a medium round brush, over-direct the sections at the crown, and roll the ends outward or wrap them around the brush and hold for a few seconds before releasing. This is the classic salon look with the most movement, and it photographs well because the layers catch the light.
The voluminous blowout hair style is all about lift. Use a large round brush, pull every section up and away from the head, and dry the roots first while they are lifted. A volumizing mousse at the roots and a quick upside-down cool blast at the end add the most lift. This style works best on medium to thick hair; on fine hair, keep the volume at the crown and keep the lengths smooth so the style does not look puffy.
How Long Does a Blowout Last?

A good at-home blowout hair routine lasts 2-4 days on most hair types, and up to 5 days on hair that is not washed daily. How long it lasts depends on your hair type, how much you sweat, the weather, and how you sleep on it. Fine, straight hair usually holds a blowout for 2-3 days before the roots look oily. Thick or wavy hair often holds the shape longer, because the texture hides the roots.
To make it last, protect it overnight: sleep on a silk or satin pillowcase, gather your hair into a loose high bun or a loose braid, and avoid tight elastics that leave dents. On day two and three, use a small amount of dry shampoo at the roots to absorb oil, then reshape the ends with a quick pass of the round brush and dryer — you do not need to redo the whole blowout.
Avoid humidity where you can: a rainy or very humid day will pull the smoothness out of any blowout, and a light anti-humidity spray helps if you live somewhere damp. And do not touch your hair constantly — the oils from your hands flatten the roots faster than anything else.
7 Mistakes That Ruin a Blowout
- Starting on soaking-wet hair. Brush work on dripping hair takes forever and exposes your hair to heat for far too long. Rough-dry to 70-80% first.
- Skipping heat protectant. Every blowout hair routine without a protectant adds up to damage over time — dryness, split ends, and breakage. It takes ten seconds to apply.
- Pointing the nozzle upward. Airflow aimed up the hair shaft lifts the cuticle and creates frizz. Always point the nozzle down, from root to tip.
- Using sections that are too big. A section wider than your brush dries unevenly and the finish looks rough. Smaller sections take a few minutes longer and look dramatically better.
- Holding the dryer too close. Keep the nozzle a few inches from the hair and keep it moving. Holding it in one spot overheats that section and can damage the hair.
- Skipping the cool shot. The cool shot is what sets the shape and closes the cuticle. Without it, the blowout falls flat and looks dull.
- Blow-drying every day. Daily heat adds up. Give your hair rest days, and on off days use dry shampoo or a loose style instead of reaching for the dryer again.
Frequently Asked Questions
How long does a blowout take at home?
A blowout takes 20-40 minutes at home depending on your hair length and thickness. Short hair can be done in about 20 minutes; long, thick hair can take 40 minutes or more. The first few times will be slower — most people get noticeably faster after three or four attempts, because the sectioning and brush coordination become automatic.
Can I do a blowout without a round brush?
Yes, you can get a smooth finish with a paddle brush, but you will get less volume and less curl at the ends. A paddle brush is good for a sleek, straight blowout. For bounce and curved ends in blowout hair, a round brush is necessary — a hair dryer brush is the easiest middle ground, because it combines the dryer and the round brush into one tool.
Is a blowout bad for your hair?
Blowout hair styling is not bad for your hair when done correctly — with a heat protectant, the lowest effective heat setting, and the dryer kept moving. It is gentler than flat ironing because the heat comes from moving air rather than hot plates. It becomes damaging when done daily on high heat without a protectant, or when the same sections are dried over and over. The American Academy of Dermatology advises limiting heat styling, air drying when possible, and using low or medium heat settings.
How do I get volume in a blowout?
Build volume in blowout hair at the roots by over-directing: pull each top section up and away from your head while drying, use a volumizing mousse at the roots, and finish with a cool shot while the hair is still lifted. A large round brush gives more volume than a small one, and flipping your head upside down for a final cool blast adds lift at the crown.
Why does my blowout go frizzy?
Frizz usually comes from one of four things: starting on soaking-wet hair, pointing the nozzle upward instead of down the hair shaft, skipping heat protectant, or working in sections that are too big. Humid weather also causes frizz — a smoothing cream and a light anti-humidity spray help, and finishing every section with a cool shot closes the cuticle and locks in smoothness.
How often can I get a blowout?
Most people can safely blow-dry their hair 2-3 times a week with a heat protectant and moderate heat. Daily blowouts on high heat increase the risk of dryness and breakage over time. If you love the blowout look every day, alternate with heat-free days, use dry shampoo between washes, and keep the heat setting as low as it can be while still getting the result.