

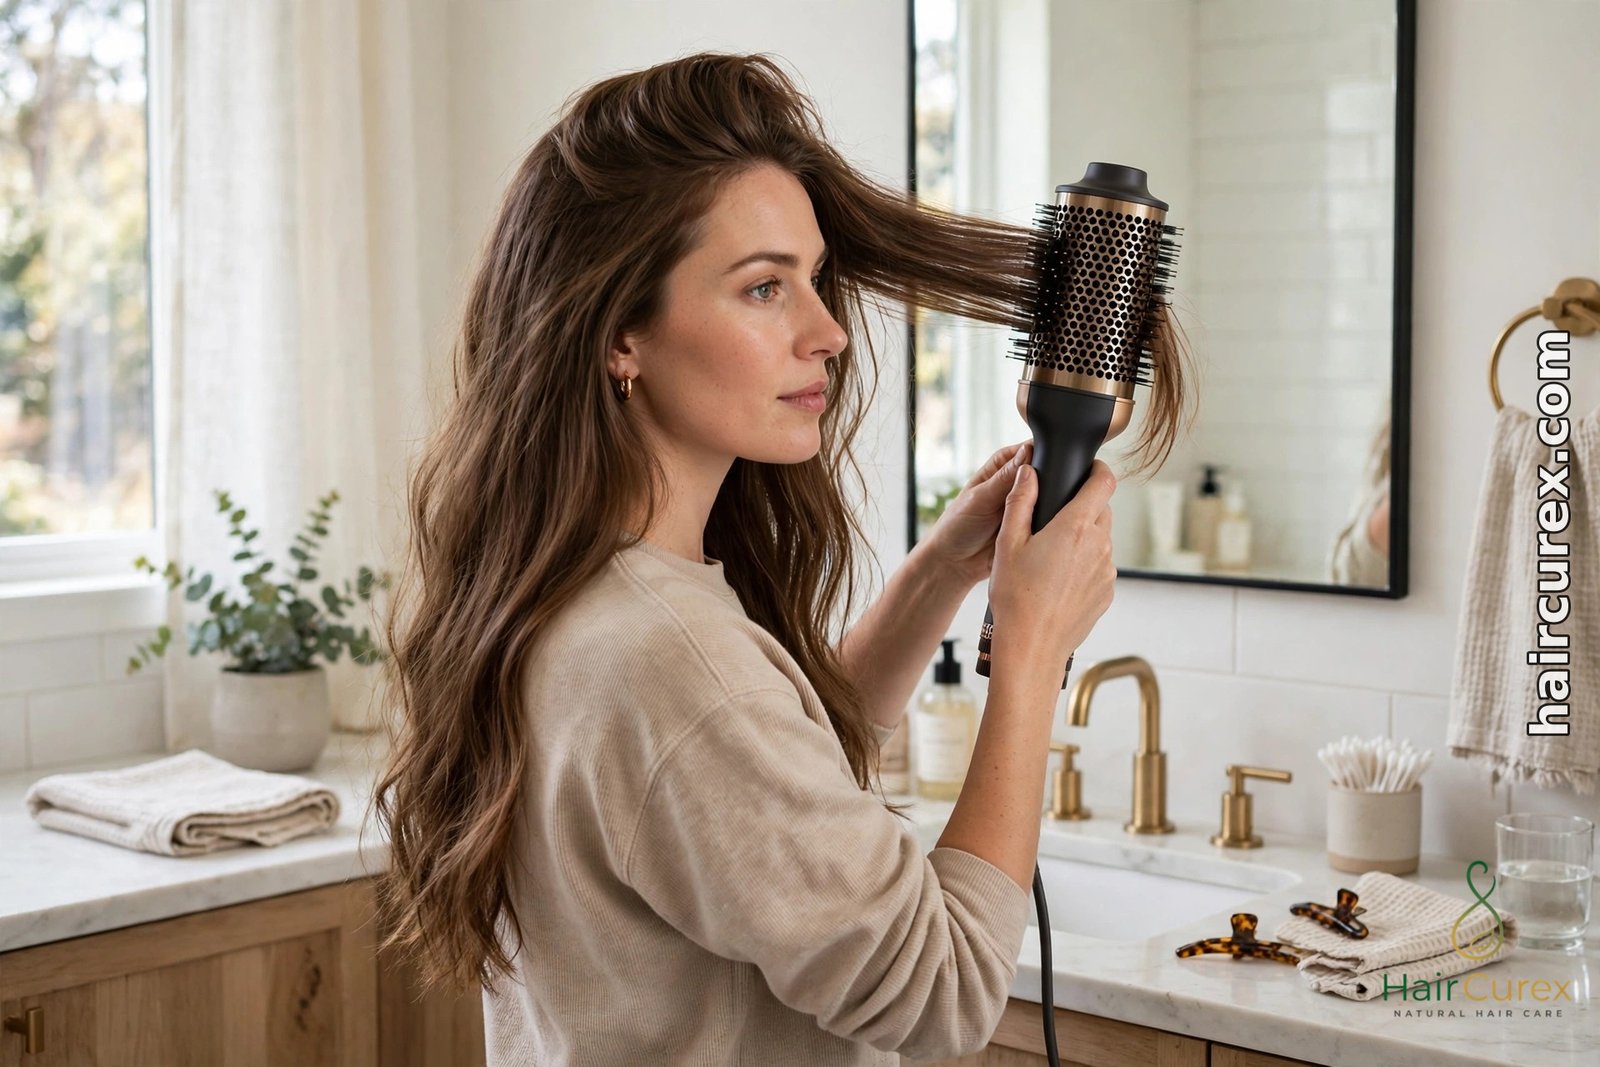
A hair dryer brush is the tool behind the smooth, bouncy blowouts you see all over social media — and the reason it went viral is simple: it combines a hair dryer and a round brush into one tool, so you can dry and style your hair at the same time. Instead of juggling a dryer in one hand and a round brush in the other, you hold a single heated brush, pull it through each section, and the warm air dries your hair while the bristles smooth it and shape it. The result is a salon-style blowout — smooth roots, soft volume, gently turned-under or flipped-out ends — without a salon appointment and without the arm ache of a traditional blow-dry. It is not magic, though. Used on soaking-wet hair, on the wrong heat setting or without a heat protectant, a hair dryer brush can leave your hair frizzy, flat or damaged. Used right, it is one of the easiest ways to get a polished finish at home. This guide explains what a hair dryer brush is, how it differs from a regular dryer, what you need before you start, the exact step-by-step technique, the right settings for your hair type, how to choose one, and the mistakes that undo the whole blowout.
Quick answer: To use a hair dryer brush, start with hair that is about 80% dry, apply a heat protectant, and work in small sections. Place the brush under a section at the roots, pull it slowly through to the ends while turning it slightly, and hold the ends on the brush for a few seconds to set the shape. Use low or medium heat for fine or damaged hair and medium to high heat for thick hair, and finish each section with a shot of cool air. Never use a hair dryer brush on soaking-wet hair, never hold it in one spot, and always use a heat protectant first.
What Is a Hair Dryer Brush?

A hair dryer brush — also called a hot air brush or blowout brush — is a styling tool that looks like a large round brush with a handle, but the barrel blows hot air through vents while you brush. The barrel is usually ceramic, tourmaline or titanium-coated, which spreads the heat evenly, and the bristles grip the hair so you can pull each section smooth and shape it as it dries. Most models have two or three heat settings plus a cool setting, and many come with interchangeable barrels in different sizes.
The appeal is the one-tool workflow. A traditional blowout needs coordination: the dryer in your dominant hand, the round brush in the other, both moving together while you watch in the mirror. A hair dryer brush removes half of that work. You section your hair, take one section at a time, and the brush does the drying and the shaping in a single pass. For people who found a round-brush blow-dry too fiddly, it is often the first method that actually works at home.
That said, a hair dryer brush is still a heat tool, and it is slower than a regular dryer. It is designed to finish and shape hair that is already mostly dry, not to dry soaking-wet hair from scratch — using it that way takes far too long and exposes your hair to heat for far longer than necessary. Think of it as a styling tool with a dryer built in, not as a replacement for your regular dryer.
Hair dryer brush vs regular hair dryer
A regular dryer with a nozzle dries hair fast and is the better choice for the first stage of drying. A hair dryer brush is slower at removing water but far better at smoothing, shaping and adding volume in the same pass. If you already own a dryer, you do not need to replace it — you use the dryer first, then the brush to finish. If you have curly hair and want defined curls rather than a smooth blowout, a hair diffuser is the better tool for that job, because it dries curls in their natural shape instead of straightening them.
Why a Hair Dryer Brush Works So Well
The blowout effect comes from two things happening at once: tension and heat. The bristles hold each section of hair taut while the hot air passes through it, and that tension is what smooths the cuticle and straightens the wave pattern. As the hair cools — either on the brush or with a cool shot — the shape sets, which is why the ends stay turned under or flipped out instead of falling straight.
The barrel shape matters too. A round barrel creates the curve: the larger the barrel, the looser and straighter the result; the smaller the barrel, the tighter the curl and the more bounce. That is why most people find a medium barrel (around 1.5 inches) the most useful for everyday blowouts — it gives volume and a soft bend without turning the ends into tight curls.
There is also a real convenience gain. A full round-brush blowout with a separate dryer can take 30–40 minutes for medium-length hair, and much of that time is spent repositioning the brush and dryer. With a hair dryer brush, most people finish in 15–25 minutes, because every pass both dries and styles. It is not a shortcut for the whole routine — you still have to section and work through your hair — but it removes the hardest part of the technique.
What You Need Before You Start

A good blowout is decided before the brush is switched on. Gather these first:
1. Clean, conditioned hair. A blowout looks best on freshly washed hair. If your roots get oily quickly, start with a formula made for your hair type — our guide to the best shampoo for oily hair explains what to look for on the label. Conditioner matters too: hair that is properly conditioned is far easier to smooth.
2. A regular hair dryer (for the first stage). Use it to get your hair to about 80% dry before the brush comes out. Rough-dry with your fingers, pointing the nozzle downward so the cuticle lies flat.
3. A heat protectant — non-negotiable. A hair dryer brush applies direct heat to every section, so a protectant is essential. Our guide to the best heat protectant sprays and creams covers what to choose; spray or cream, apply it evenly through damp hair before you start brushing. The American Academy of Dermatology’s healthy hair tips also recommend using the lowest heat setting that gets the job done, which applies doubly to a tool that stays in contact with your hair.
4. Sectioning clips. At least four: two for the top layers and two for the sides. Sectioning is what separates a smooth blowout from a frizzy one, because it stops you from re-drying sections you have already finished.
5. A wide-tooth comb. Detangle after washing, while your hair is still damp and conditioned. Never drag a fine comb or brush through wet hair — wet hair stretches and snaps more easily.
6. A light finishing product. A drop of hair oil or a light smoothing serum for the ends, applied only after you have finished. Heavy products applied before styling weigh the blowout down and kill the volume you just built.
How to Use a Hair Dryer Brush: Step by Step
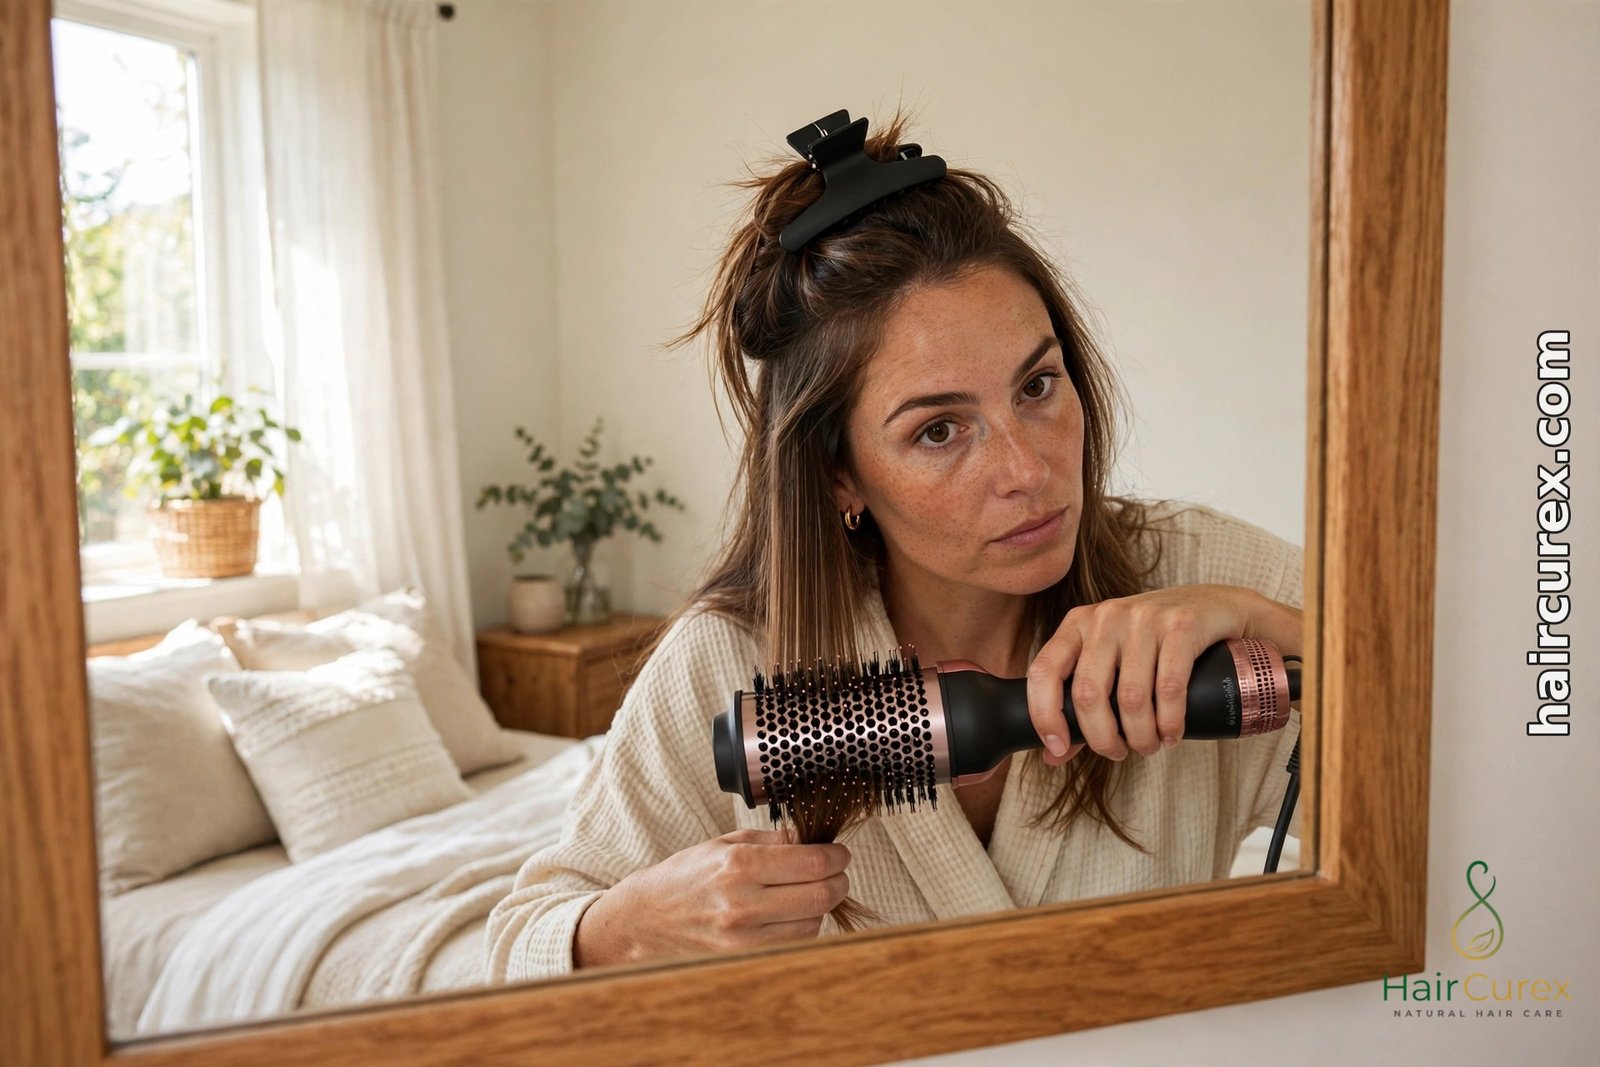
Follow these steps in order. The first few times will feel slow; after a week it becomes a fifteen-minute routine.
Step 1: Wash, condition and rough-dry to 80%. Wash as usual, condition, and towel-dry gently — squeeze, never rub. Then rough-dry with your regular dryer on medium heat, using your fingers to lift the roots, until your hair feels damp but not wet. If water drips when you squeeze a section, it is too wet for the brush.
Step 2: Apply heat protectant and detangle. Mist or smooth the protectant through your damp hair, then run a wide-tooth comb through it once. Work from the ends upward so you do not pull knots down through the length.
Step 3: Section your hair. Clip the top half up and split the bottom half into two sections, left and right. Work on the bottom sections first, then release the top in two more sections. Small sections — about two inches wide — are the secret: wide sections do not dry evenly and the brush cannot grip them properly.
Step 4: Choose your heat setting. Fine, thin or damaged hair: low or medium heat. Medium hair: medium heat. Thick or coarse hair: medium to high heat. If you are not sure, start on medium — you can always do a second pass, but you cannot undo heat damage. Our guide to at what temperature hair burns explains why staying below the damage threshold matters more than drying fast.
Step 5: Place the brush under the section at the roots. Take one section, place the brush underneath it close to the scalp, and lift slightly — this is what creates root volume. Keep the brush moving slowly down the length of the section, turning it gently as you go so the hair wraps slightly around the barrel.
Step 6: Pull through slowly and evenly. Move the brush from roots to ends in one smooth, slow pass. Rushing leaves the inside of the section damp, which is the main reason a blowout falls flat within an hour. When you reach the ends, roll the brush under (or over, for a flipped-out finish) and hold it there for three to five seconds so the shape sets.
Step 7: Finish each section with cool air. Switch to the cool setting and run the brush through the section once more, or hold the cool shot for a few seconds on the ends. Cool air closes the cuticle and locks in the shape, which is what makes the blowout last. Allure’s guide to how to blow-dry hair gives the same advice for a traditional blow-dry, and it applies exactly the same way here.
Step 8: Work through all the sections, then the top. Repeat for each section, moving from the bottom layers to the top. The top sections frame your face, so take extra care with them: smaller sections, a slower pass, and a clean roll at the ends. For the front pieces, brush them away from your face for a soft, open finish, or toward your face for a curtain effect.
Step 9: Let it cool, then finish. When you have done every section, leave your hair alone for two or three minutes so it cools completely. Then smooth a drop of oil or serum over the ends only, and run your fingers — not a brush — through the roots to break up the sections. Never brush through a finished blowout: it pulls out the volume and creates frizz.
Hair Dryer Brush Settings by Hair Type
The same brush works for every hair type, but the settings and section size change. Use this table as your starting point and adjust after a few tries.
| Hair type | Heat | Section size | Technique | Time (medium length) |
|---|---|---|---|---|
| Fine or thin | Low | 1–1.5 inches | Lift at the roots, slow pass, cool finish | 10–15 minutes |
| Medium, straight | Medium | 2 inches | Standard pass, roll ends under | 15–20 minutes |
| Medium, wavy | Medium | 2 inches | Slight extra tension to smooth the wave | 15–20 minutes |
| Thick or coarse | Medium–high | 1.5–2 inches | Two slow passes per section if needed | 20–30 minutes |
| Curly (blowout finish) | Medium | 1.5 inches | Pull taut to smooth the curl pattern | 20–30 minutes |
| Damaged or color-treated | Low | 1.5 inches | One slow pass only, always with protectant | 15–20 minutes |
Fine hair needs the lightest touch — too much heat or too large a section flattens it, so small sections and root lift do most of the work. Thick hair can take more heat and a longer hold, because the hair is denser and takes longer to dry, but high heat held in one spot is still never a good idea. Damaged or color-treated hair should always stay on low heat with a protectant, even if it takes a few minutes longer.
Hair Dryer Brush for Fine Hair vs Thick Hair

Fine and thick hair want opposite things from the same tool, and using the wrong approach for your texture is the most common reason for disappointment.
Fine hair is easily weighed down, so the goal is volume and lift rather than heavy smoothing. Use the smallest sections, lift the brush firmly at the roots, and keep the heat on low or medium. Avoid applying oil or serum before styling — any product on fine hair before the brush will flatten the result. A light volumizing mousse applied to damp roots before you start helps the lift last, but use a small amount: too much product makes fine hair sticky instead of bouncy.
Thick hair needs more time and more tension. The brush has to work through a denser section, so take your time on each pass and do not be afraid of a second slow pass on stubborn sections. A larger barrel works better here — it covers more hair per pass and gives a smoother, straighter finish. Sectioning matters even more for thick hair: if the sections are too wide, the outside dries while the inside stays damp, and the blowout collapses within an hour.
How to Choose a Hair Dryer Brush
If you are buying your first one, here is what to look for:
| Feature | What to look for | Why it matters |
|---|---|---|
| Barrel size | 1.5 inches for most hair; 1 inch for short hair or tight curls; 2 inches for long, thick hair | Barrel size sets the curve and volume |
| Barrel material | Ceramic or tourmaline for even heat; titanium for thick, coarse hair | Even heat means less damage and less frizz |
| Bristle type | Nylon pin bristles with tufted tips for grip; ball-tipped bristles for gentle detangling | Bristles control tension and smoothing |
| Heat settings | At least 2 heat settings plus a cool shot | Fine hair needs low; thick hair needs higher |
| Weight | Light enough to hold above your head for 15–20 minutes | A heavy brush makes your arms ache |
| Cord length | 6 feet or more, with a swivel cord | Short cords fight you while you style |
You do not need the most expensive model. A mid-range ceramic brush with two heat settings and a cool shot does the job for most people; the technique matters far more than the price tag. What is worth paying for is a barrel size that matches your hair length and a weight you can hold comfortably — a brush that is too heavy is a brush you will stop using. Replace the brush if the bristles start to melt, bend or fall out, or if the barrel coating chips: damaged bristles snag and break hair.
7 Mistakes That Ruin a Blowout

| Mistake | What happens | Fix |
|---|---|---|
| Starting on soaking-wet hair | Takes forever, overexposes hair to heat, flat result | Rough-dry to 80% first |
| Skipping heat protectant | Gradual heat damage, dullness, split ends | Protectant on damp hair, every time |
| Sections too wide | Outside dries, inside stays damp, blowout collapses | 1.5–2 inch sections, smaller for fine hair |
| Holding the brush still in one spot | Hot spot damage, creases, burnt smell | Keep the brush moving slowly and evenly |
| Too much heat for your hair type | Frizz, breakage, dull color | Low for fine/damaged, medium for most hair |
| Brushing through the finished blowout | Pulls out volume, creates frizz | Fingers only, and only once the hair is cool |
| Styling in a steamy bathroom | Humidity undoes the smoothing as fast as you do it | Style in a dry room; finish with cool air |
If your blowout comes out frizzy even though you followed the steps, the most likely causes are starting with hair that was too wet, using too much heat, or styling in a humid bathroom. Change one thing at a time — start with the drying stage — and give each change two or three attempts before you judge it. If frizz is your main problem in general, our guide on how to get rid of frizzy hair covers the wider causes, from water temperature to towel choice, that a brush alone cannot fix.
How to Clean and Store Your Hair Dryer Brush
A hair dryer brush needs regular cleaning, because product and hair build up on the barrel and bristles and get transferred back onto your hair. Once a week, switch it off and let it cool completely, then pull the trapped hair out of the bristles with your fingers or a comb. Once a month, wipe the barrel with a damp cloth and a little mild soap, rinse the cloth and wipe again, then let it dry fully before storing. Never submerge the brush in water and never clean it while it is hot or plugged in. Check the air vents for lint or hair — blocked vents make the brush overheat and dry unevenly. Store it in a drawer or on a hook, away from direct heat. If the bristles are melted or the barrel coating is chipped, replace the brush.
The Bottom Line
A hair dryer brush is the easiest route most people will find to a salon blowout at home: one tool that dries and styles in the same pass, with no round-brush juggling and no salon appointment. The technique is what makes it work — rough-dry to 80% first, heat protectant always, small sections, slow even passes with a roll at the ends, a cool finish, and hands off until the hair is completely cool. Get those six things right and most hair types come out noticeably smoother, with more volume and a polished finish that lasts, in about fifteen to twenty minutes. The first few attempts may be imperfect, and that is normal; each blowout teaches you a little more about how your own hair responds to the brush. Stick with it for two or three weeks and the routine becomes the easiest part of your wash day, not the hardest.
Frequently Asked Questions
What is a hair dryer brush used for?
A hair dryer brush is used to dry and style hair at the same time, giving a smooth, bouncy salon-style blowout at home. The heated round barrel dries each section while the bristles smooth it and shape the ends, so you do not need a separate dryer and round brush.
How do you use a hair dryer brush for beginners?
Start with hair that is about 80% dry, apply a heat protectant, and work in small 2-inch sections. Place the brush under a section at the roots, pull it slowly through to the ends while turning it slightly, hold the ends on the brush for a few seconds, then finish with cool air. Keep the brush moving and never hold it still in one spot.
Should hair be wet or dry before using a hair dryer brush?
Hair should be damp — about 80% dry — before you use a hair dryer brush. Using it on soaking-wet hair takes too long and exposes your hair to heat for far longer than necessary. Rough-dry with a regular dryer first, then finish and shape with the brush.
What heat setting should I use on a hair dryer brush?
Use low heat for fine, thin or damaged hair, medium heat for most medium hair, and medium to high heat for thick or coarse hair. Always finish each section with a cool shot to set the shape, and always use a heat protectant first.
Can a hair dryer brush damage your hair?
Yes, if it is used wrong — on soaking-wet hair, on too high a heat setting, held still in one spot, or without a heat protectant. Used correctly, with low to medium heat, a protectant and slow moving passes, it is no more damaging than a regular blow-dry.
Is a hair dryer brush good for fine hair?
Yes, a hair dryer brush is good for fine hair when you use small sections, low or medium heat, and lift firmly at the roots. It adds volume that fine hair often lacks, but avoid heavy products before styling, because they flatten the result.
How long does a blowout with a hair dryer brush last?
A blowout done with a hair dryer brush usually lasts 2–3 days on most hair types, longer if you sleep on a silk pillowcase and use dry shampoo at the roots on day two. Humidity, touching your hair and sleeping on it flat are what shorten it.