

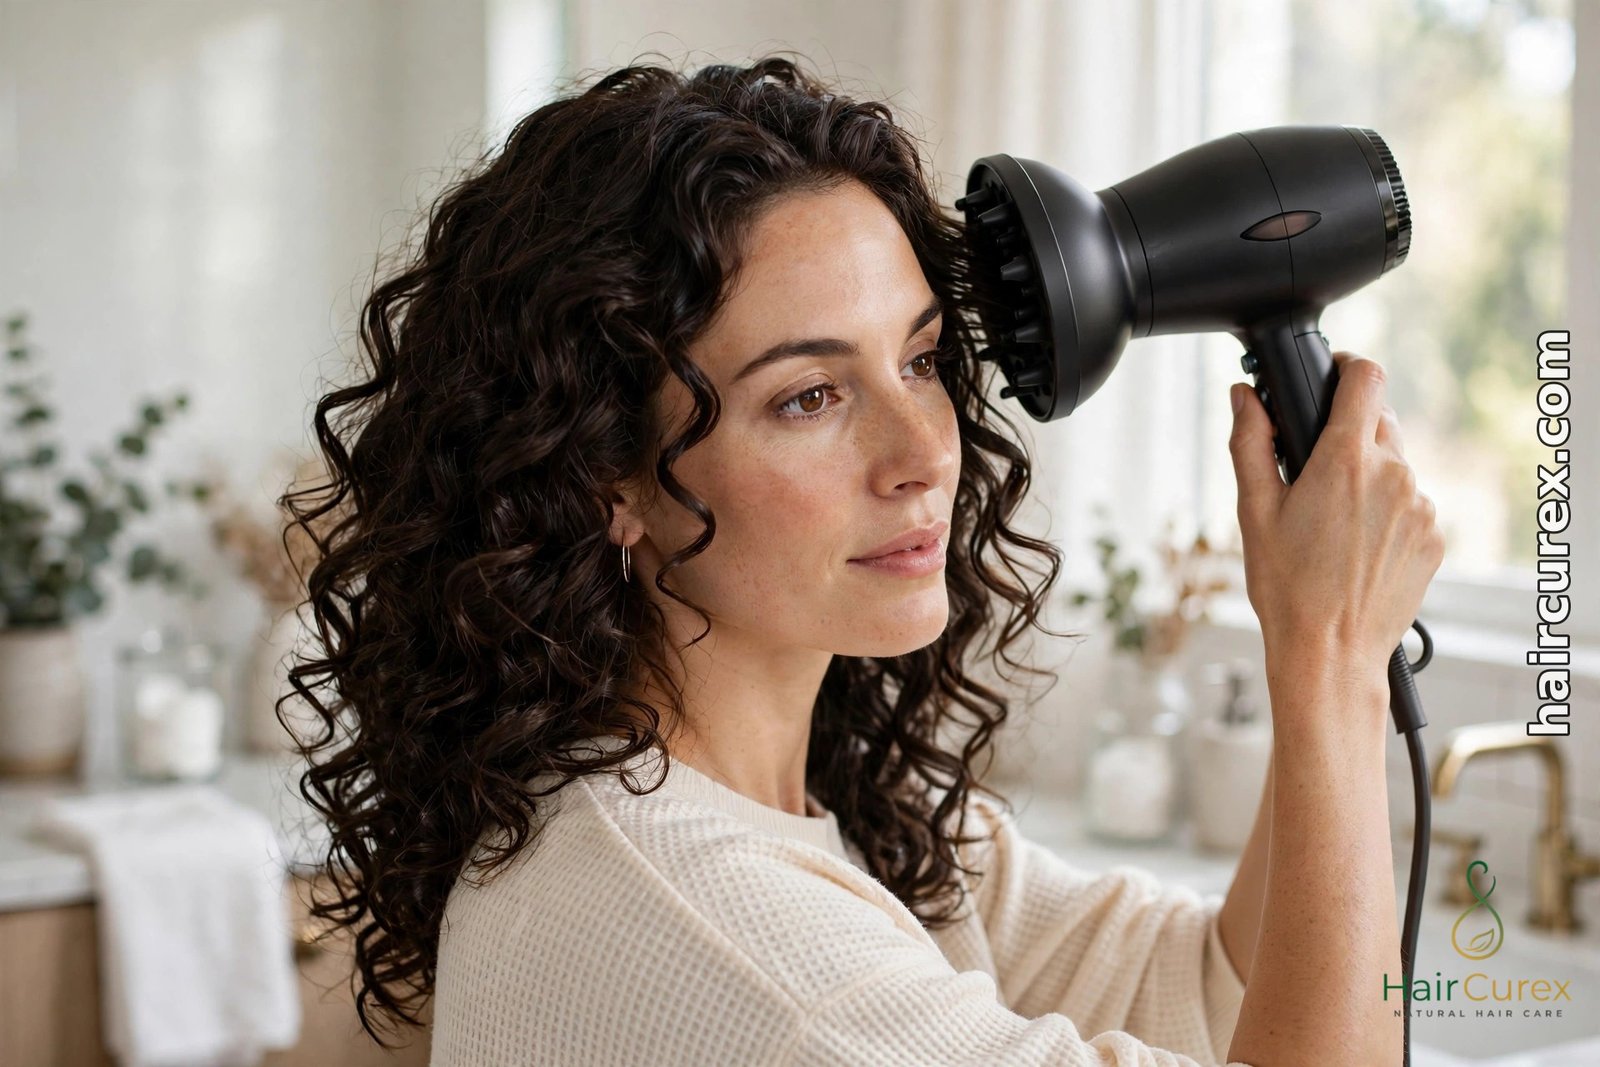
A hair diffuser is the single most useful tool for anyone with wavy or curly hair who is tired of choosing between limp air-dried curls and frizzy blow-dried ones. It is a wide, bowl-shaped attachment that fits on the end of a hair dryer and spreads the airflow out instead of blasting it in one hard stream. That gentle, spread-out air dries your curls in their natural shape instead of blowing them apart, which is why diffused curls usually come out more defined, bouncier and far less frizzy than curls dried any other way.
The tool itself is simple and cheap — many dryers include one in the box, and universal ones cost very little — but the technique matters more than the tool. Used wrong, a diffuser can still cause frizz, flat roots and crunchy curls. Used right, it is the fastest route to the curls you actually want. This guide explains what a diffuser does, what you need before you start, the exact step-by-step technique, the right heat and speed settings for your curl type, and the mistakes that undo all your good work.
Quick answer: To use a hair diffuser, start with damp hair, apply leave-in conditioner and a curl cream or gel, then attach the diffuser and set your dryer to low heat and low speed. Cup sections of curls into the diffuser bowl, lift them toward your scalp, hold for 15–20 seconds, then move to the next section. Stop when your hair is about 80% dry and let the rest air-dry — touching it while it is still wet is the main cause of frizz. Do not use high heat or high speed, do not rake your fingers through your curls while diffusing, and always use a heat protectant first.
What Is a Hair Diffuser?
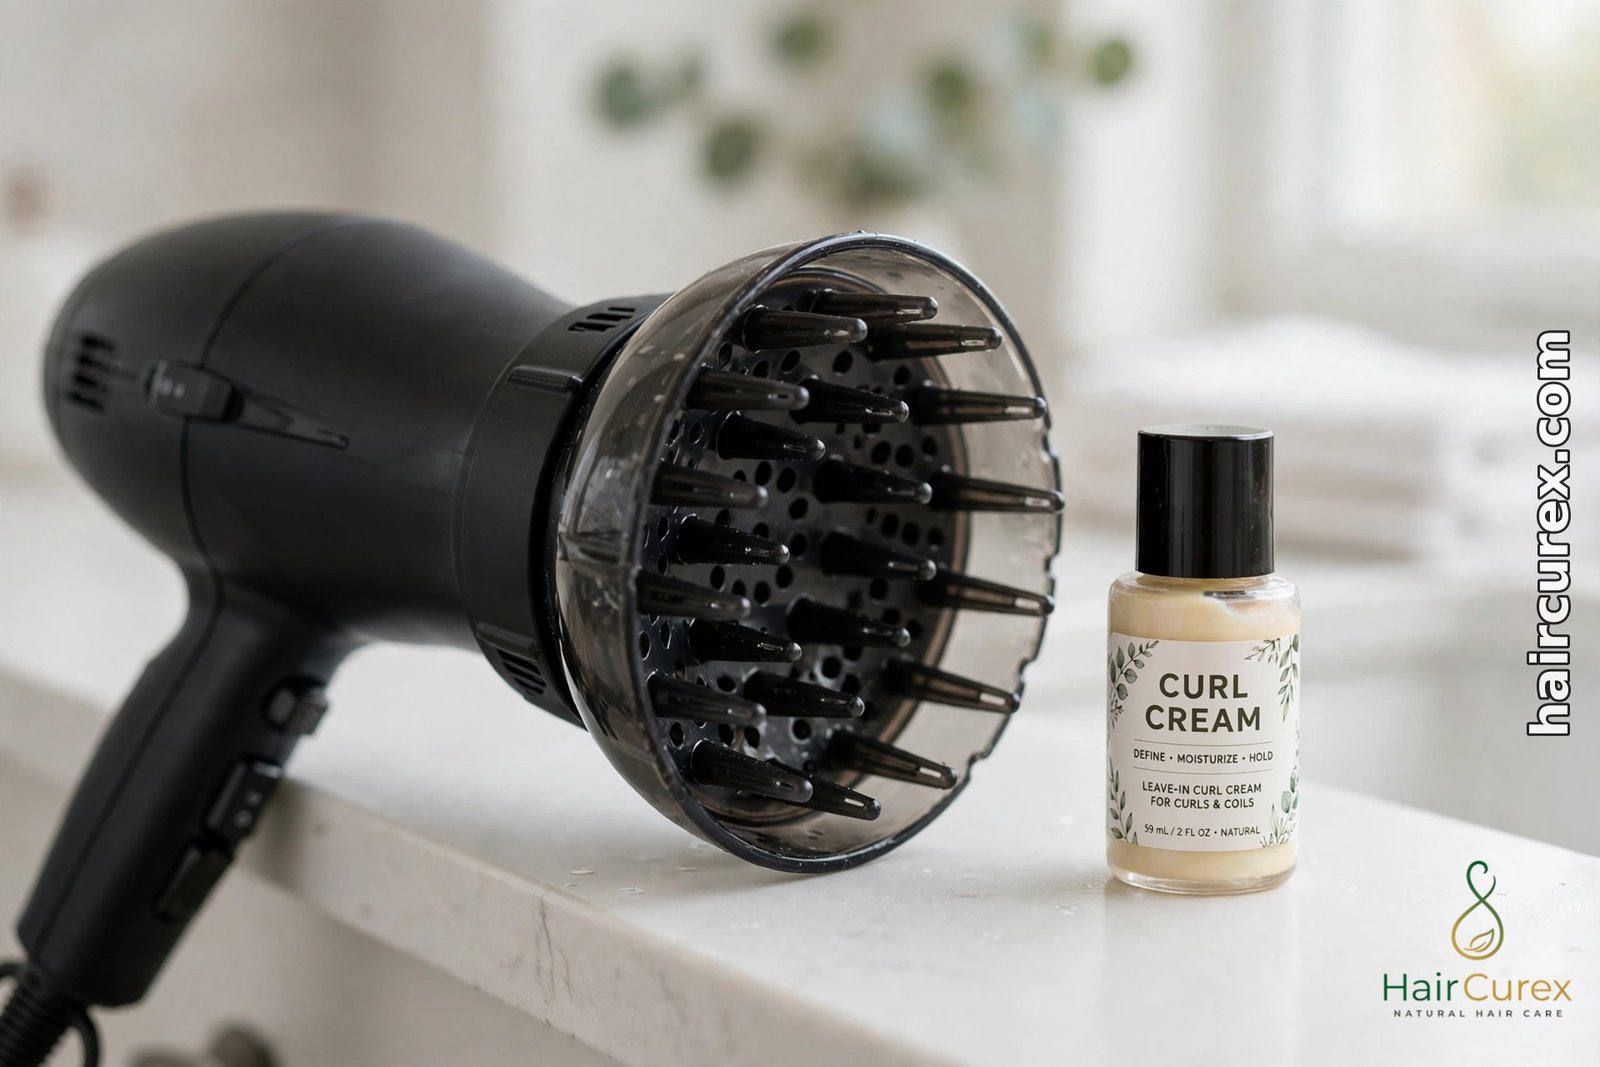
A hair diffuser is a bowl-shaped attachment for a hair dryer that spreads the airflow over a wide area instead of concentrating it through a narrow nozzle. Most diffusers look like a shallow cup or a flattened bowl, often with short prongs or “fingers” sticking up from the inside. Those prongs lift the hair at the roots while the bowl holds a section of curls in place, so the warm air dries the curl from all sides at once without moving it around.
The difference it makes comes down to physics. A regular dryer nozzle pushes a fast, focused stream of air at your hair, and that stream separates curl clumps, pushes the cuticle up and creates frizz. A hair diffuser slows the air down and spreads it out, so each curl keeps its shape while it dries. The result is more definition, more volume at the roots and much less frizz — the three things most people with curly or wavy hair want from a wash day.
Diffusers are not only for tight curls. They work for every texture from loose waves (type 2A) to tight coils (type 4C), and they also work for straight hair when you want volume and a soft bend rather than a sleek blowout. If you are not sure where your hair falls in the curl-type system, our guide to curly hair types explains the 2A to 4C scale and how to care for each type.
Do you need a special hair dryer for a diffuser?
No. Most mid-range and premium dryers either come with a diffuser in the box or sell one that clips onto the same nozzle. Universal diffusers also exist — they use a silicone grip or an adjustable band to fit most standard dryer nozzles. Before you buy one, measure the diameter of your dryer’s nozzle and check the diffuser’s stated fit range; a diffuser that wobbles or falls off mid-drying is worse than no diffuser at all. If your dryer is very old or very cheap, it may lack the low-heat, low-speed settings that make diffusing work well, in which case a basic dryer with adjustable settings is a better investment than a fancy diffuser.
Why Diffusing Beats Air-Drying and Regular Blow-Drying
Air-drying sounds like the gentlest option, and in some ways it is — no heat at all. But it has real downsides. Wet hair is at its most fragile, and leaving it wet for hours means the curls are weighed down by water for a long time, which stretches them out and kills volume at the roots. It also means your hair stays damp against your scalp for hours, which can leave the scalp itchy and the roots flat. In humid weather, air-dried curls often dry frizzy anyway, because the cuticle stays raised while the hair dries slowly.
A regular blow-dry with a nozzle is faster, but the concentrated airflow is the enemy of curl definition. It blows curl clumps apart, pushes the cuticle up and creates exactly the halo of frizz most curly-haired people are trying to avoid.
Diffusing sits in the middle: it is much faster than air-drying, because warm air is doing the work, but it is far gentler than a nozzle dry because the air is spread out and slow. You get the definition of air-drying with the volume and speed of blow-drying, and you keep the heat low enough that damage stays minimal — especially when you use a heat protectant, as the American Academy of Dermatology’s healthy hair tips recommend for any heat styling.
What You Need Before You Start Diffusing
Good diffused curls are decided before the dryer is even switched on. Gather these first:
1. A sulfate-free, moisturizing shampoo and conditioner. Diffusing works best on hair that is clean but not stripped. Harsh shampoos leave curls dry and prone to frizz before styling even begins, so start with a formula made for your curl type — our guide to the best shampoo for curly hair explains what to look for on the label.
2. A microfiber towel or an old cotton T-shirt. Regular terry towels are rough and catch on the hair cuticle, creating frizz. After washing, gently squeeze out excess water with a microfiber towel or a T-shirt instead of rubbing. Never wring your hair out.
3. Leave-in conditioner. Apply it to soaking wet hair first, before anything else. It adds the moisture curly hair needs and makes the next products spread evenly.
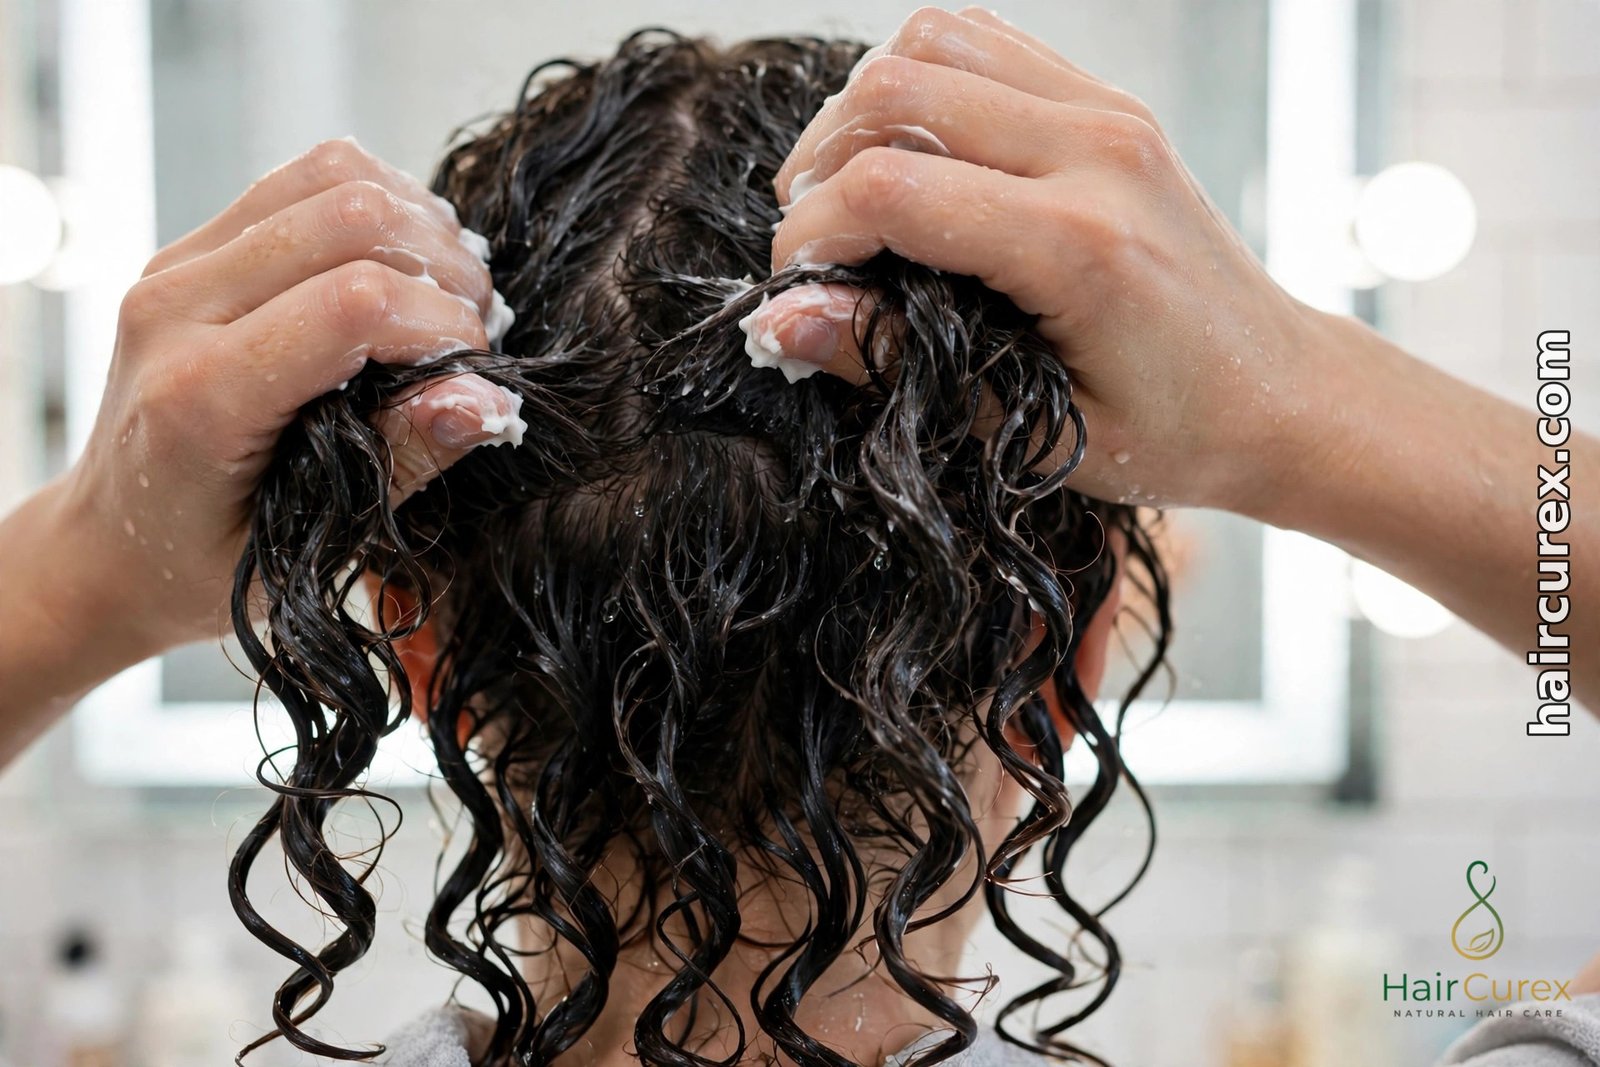
4. A curl cream, mousse or gel — or a combination. This is what gives the diffuser something to lock in. Cream defines and softens, mousse adds volume and hold without weight, and gel gives the strongest hold and the most definition. A popular combination is a curl cream followed by a light gel; a hair custard is another good option for defined, moisturized curls. Apply with “praying hands” — smoothing the product over each section between flat palms — or scrunch it in gently. Do not rake products through with your fingers, which breaks up curl clumps.
5. A heat protectant spray. Mist it lightly over your hair after your styling products. Even on low heat, you are still applying heat, and a protectant reduces the damage.
6. A hair dryer with a hair diffuser attachment, set to low heat and low speed. Test that the diffuser fits securely before your hair is wet and full of product.
7. A wide-tooth comb, used only in the shower. Detangle while your conditioner is in, then leave the comb alone. Combing dry or damp curls after styling breaks the curl pattern and causes frizz.
How to Use a Hair Diffuser: Step by Step

Follow these steps in order. The first few times will feel slow; after a week it becomes a ten-minute routine.
Step 1: Wash and condition as usual. Use lukewarm water, not hot — hot water lifts the cuticle and invites frizz. Rinse conditioner out with cool water if you can stand it, which helps the cuticle lie flat.
Step 2: Remove excess water gently. With your microfiber towel or T-shirt, squeeze sections of hair upward toward the scalp. Do not rub. Your hair should be damp, not dripping — if water is running down your neck, squeeze more out first.
Step 3: Apply products to soaking wet or very damp hair. Work in sections. Smooth leave-in conditioner through first, then your curl cream or gel. Scrunch gently upward to encourage the curl pattern. If your curls look stringy, you have probably used too little product; if they look coated and heavy, you have used too much. Most people need a coin-sized amount of cream and a similar amount of gel for medium-length hair.
Step 4: Attach the hair diffuser and set low heat, low speed. This is the setting that matters most. High heat dries faster but damages the cuticle and causes frizz; high speed blows curls apart. Low and low, every time.
Step 5: Hover first, then cup. Start by holding the hair diffuser a few inches away from your hair and moving it slowly around your head for a minute — this is called “hover diffusing” and it sets the curl cast without disturbing the pattern. Then move to cupping: place a section of curls into the diffuser bowl, lift it up toward your scalp, and hold it there for 15–20 seconds. Lower it gently, move to the next section, and repeat.
Step 6: Work in sections, roots last. Dry the lengths and mid-sections first, then lift the roots with the diffuser prongs for volume. To get lift at the crown, tilt your head to one side and cup the roots on that side, then switch. For the back of your head, tilt your head forward and cup the curls from underneath — this is the “pixie diffusing” position, and it is the easiest way to dry the nape and add volume at the back.
Step 7: Stop at 80% dry. This is the single most important rule. When your hair feels mostly dry but still slightly cool and damp to the touch, switch the dryer off. Let the last 20% air-dry. Finishing with the diffuser tends to over-dry the ends and create frizz, and the final air-dry lets the curls settle into their shape.
Step 8: Do not touch it while it dries. Once you have stopped diffusing, keep your hands off your hair until it is completely dry. Touching wet curls breaks the cast and creates frizz — this is the mistake that ruins more wash days than any other.
Step 9: Scrunch out the crunch. If you used gel, your curls will feel slightly hard or “crunchy” when fully dry. That is normal and good — it means the gel formed a cast that protected the curl while it dried. Once the hair is 100% dry, scrunch each section upward with your bare hands, or with a drop of light oil on your palms, until the crunch disappears and soft, defined curls are left. Never scrunch before the hair is fully dry.
Hair Diffuser Settings by Curl Type
The same hair diffuser works for every curl type, but the settings and technique change. Use this table as your starting point and adjust after a few wash days.
| Curl type | Heat | Speed | Technique | Time (medium length) |
|---|---|---|---|---|
| 2A–2B (wavy) | Low | Low | Hover mostly; cup lightly at the roots for volume | 5–8 minutes |
| 2C–3A (loose curls) | Low | Low | Hover 1 min, then cup in sections | 8–12 minutes |
| 3B–3C (classic curls) | Low–medium | Low | Cup and hold 15–20 sec per section | 10–15 minutes |
| 4A–4B (coily) | Low–medium | Low | Cup and hold 20–30 sec; stretch roots gently with prongs | 12–18 minutes |
| 4C (tight coils) | Low–medium | Low | Cup and hold; use the cool shot to finish each section | 15–20 minutes |
Wavy hair needs the lightest touch — too much cupping can make waves look stringy, so hover diffusing does most of the work and cupping is mainly for root volume. Tighter curls and coils can take a little more heat and a longer hold, because the hair is denser and takes longer to dry, but high heat is still never a good idea. If your hair is fine, use the lowest heat and keep the diffuser moving; if it is thick, you can hold each section a few seconds longer. If you follow the Curly Girl Method, diffusing fits it perfectly: low heat, no brushing, and products applied to wet hair are all core parts of the method.
Hair Diffuser for Wavy Hair vs Curly Hair

Wavy hair (2A–2C) is easily weighed down, so the goal is volume and a stronger wave pattern rather than tight definition. Use lightweight products — a mousse rather than a heavy cream — and hover diffuse for most of the drying time. Cup only at the roots, and tilt your head to each side to build lift. Stop at 80% dry as usual, and avoid scrunching too hard at the end, which can make waves look messy rather than defined. Many people with wavy hair find that diffusing upside down gives the best volume, but if that makes your waves look wild, try diffusing with your head tilted to the side instead.
Curly hair (3A–4C) needs the full cup-and-hold technique. The diffuser bowl holds each curl clump together while it dries, which is what creates the definition that air-drying often fails to deliver. Use a cream plus gel combination for the best hold, cup each section for a full 15–20 seconds, and be patient — curly hair takes longer to diffuse than wavy hair, but the result is worth it. For very tight curls, try “pixie diffusing”: switch the dryer off, place a section of curls into the bowl, lift it to your scalp, then switch the dryer on for 15–20 seconds and switch it off before moving. This stops the airflow from disturbing the curls as you move between sections.
How to Choose a Hair Diffuser
If your dryer did not come with one, here is what to look for:
| Feature | What to look for | Why it matters |
|---|---|---|
| Fit | Matches your dryer nozzle diameter (usually 1.5–2.5 inches) or a universal silicone grip | A loose diffuser falls off mid-drying |
| Bowl depth | Deep bowl (2–3 inches) for long or thick hair; shallow bowl for short hair | Deep bowls hold more hair per section |
| Prongs | Long, widely spaced prongs for volume; short prongs for definition | Prongs lift roots and let air reach the scalp |
| Material | Heat-resistant plastic or silicone; ceramic-coated bowls spread heat evenly | Cheap thin plastic can warp or melt |
| Weight | Light enough to hold above your head for 10–15 minutes | A heavy diffuser makes your arms ache |
Universal diffusers are a good first buy because they fit most dryers and cost little. If you already own a dryer from a major brand, check whether the brand sells its own diffuser first — a brand-matched diffuser always fits best. Do not buy a hair diffuser just because it is marketed for a specific curl type; the technique matters far more than the model, and a basic diffuser used correctly will outperform an expensive one used badly.
7 Mistakes That Ruin Diffused Curls
| Mistake | What happens | Fix |
|---|---|---|
| High heat or high speed | Frizz, cuticle damage, curls blown apart | Low heat, low speed, always |
| Diffusing soaking-wet hair | Products drip out, curls stretch, drying takes forever | Squeeze out excess water first; hair should be damp, not dripping |
| Touching curls while they dry | Breaks the gel cast, creates frizz | Hands off until 100% dry |
| Drying to 100% with the hair diffuser | Over-dried ends, frizz, flat roots | Stop at 80% and air-dry the rest |
| Raking fingers through curls | Breaks curl clumps into frizz | Praying hands or scrunching only |
| Skipping heat protectant | Gradual heat damage, dullness, split ends | Mist protectant over styled hair before diffusing |
| Using the wrong products | Heavy creams flatten waves; light mousse cannot hold tight curls | Match product weight to your curl type (see table above) |
If your diffused curls come out frizzy even though you followed the steps, the most likely causes are touching the hair too soon, using too much heat, or starting with hair that was too wet. Change one thing at a time — start with the heat setting — and give each change two or three wash days before you judge it. If frizz is your main problem in general, our guide on how to get rid of frizzy hair covers the wider causes, from water temperature to towel choice, that a diffuser alone cannot fix.
How to Clean and Store Your Diffuser
A hair diffuser needs almost no maintenance, but a dirty one can transfer product residue back onto your hair. Once a month, wipe the bowl and prongs with a damp cloth and a little mild soap, rinse, and let it dry completely before storing. Check the air vents on the bowl for lint or hair — blocked vents make the diffuser overheat and dry unevenly. Store it clipped onto the dryer or in a drawer, away from direct heat. If the plastic starts to warp, crack or smell like burning plastic, replace it: a warped hair diffuser does not spread air evenly any more.
The Bottom Line
A hair diffuser is a simple tool with an outsized effect: it turns a hair dryer from a curl-destroyer into a curl-definer. The technique is what makes it work — damp hair, the right products applied to wet hair, low heat and low speed, cup-and-hold in sections, stop at 80% dry, and do not touch your curls until they are completely dry. Get those six things right and most wavy and curly hair comes out noticeably more defined, with more volume and far less frizz, in about ten minutes.
The first few attempts may be imperfect, and that is normal; each wash day teaches you a little more about how your own curls respond. Stick with it for two or three weeks and diffusing becomes the easiest part of your routine, not the hardest.
Frequently Asked Questions
What does a hair diffuser do?
A hair diffuser is a bowl-shaped attachment for a hair dryer that spreads the airflow over a wide area. It dries curls gently in their natural shape, giving more definition, more root volume and less frizz than a regular dryer nozzle.
How do you use a hair diffuser for the first time?
Start with damp hair, apply leave-in conditioner and a curl cream or gel, then set your dryer to low heat and low speed. Cup sections of curls into the diffuser bowl, lift them toward your scalp and hold for 15–20 seconds per section. Stop at 80% dry and let the rest air-dry.
Should you diffuse curly hair on high or low heat?
Always use low heat and low speed. High heat damages the cuticle and causes frizz, and high speed blows curl clumps apart. Low settings take a few minutes longer but give far better definition.
How long does it take to diffuse curly hair?
For medium-length hair, expect 5–8 minutes for wavy hair, 8–12 minutes for loose curls, and 10–20 minutes for tight curls or coils. Stop when the hair is about 80% dry and let the rest air-dry.
Can you use a hair diffuser on wavy hair?
Yes. A hair diffuser works well on wavy hair: use lightweight products such as mousse, hover diffuse for most of the drying time, and cup mainly at the roots to add volume without weighing the waves down.
Why is my hair frizzy after diffusing?
The most common causes are high heat, high speed, touching the curls while they are still wet, or drying to 100% with the diffuser instead of stopping at 80%. Use low heat and low speed, keep your hands off until the hair is fully dry, and always use a heat protectant.
Do you need a diffuser if you air-dry?
Not necessarily, but diffusing is faster and usually gives more volume and definition than air-drying, especially at the roots. If your air-dried curls are flat on top or take hours to dry, a diffuser is worth trying.